In this article, we’re going to be talking all things rendering. It’s a bit of a buzzword on building sites and at DIY shows, but what is rendering, and when is it needed? At Mitcham Builders Merchants, we’ve been supplying top-quality render for years, so we know a thing or two about rendering. Whether you’re a first-timer or a seasoned DIY enthusiast, we’re here to help you understand everything you need to know. But before we start, if you’re curious about our range of rendering supplies, feel free to check out our rendering products page and see what we have in store to suit you.
What Is Rendering: Everything You Need To Know
Rendering is one of the many techniques property owners and contractors use to improve the appearance of exterior walls. By the end of this article, you’ll have a complete understanding of render so you can make an informed decision as to whether it’s right for your upcoming projects. We’ll be covering:
- What Actually Is Render?
- Render vs Plaster
- How To Mix Render
- How To Render A Wall
- Can You Render Over Render?
- How Much To Render A House?
What Actually Is Render?
Simply put, render is a type of building material used to cover the outside of walls. It’s like giving your house a facelift – it makes everything look fresh and also helps protect the property from the weather.
A Bit of History
Rendering has been a thing ever since humans started building homes. The earliest forms of rendering were simple mixtures of things like lime and sand that were designed to protect homes and buildings. Over the centuries, rendering formulas have evolved but the idea remains the same: to create a strong, durable finish that keeps the weather at bay.
Benefits of Rendering
Modern rendering has plenty of benefits, making it a popular choice for homeowners all over the UK:
- Protection: It creates a barrier to protect your building from rain, wind, and moisture. This minimises the risk of damp problems.
- Improved Look: A good render job can completely change the look of your home. It gives it a fresh, modern appearance.
- Durability: Modern renders are designed to last for years, meaning you won’t have to worry about repairs or maintenance too often.
- Energy Efficiency: Some types of render can help improve your home’s insulation, keeping it warmer in the winter and cooler in the summer.
- Cost-Effective: Compared to other building finishes, render is a relatively budget-friendly way to upgrade your home’s exterior.
Render vs Plaster
One of the most common questions we get in-store is, ‘What’s the difference between render and plaster?’ While they are very similar, they have some key differences that you’ll need to understand if you want to benefit from both.
Usage:
Render is typically used on a building’s exterior. It’s designed to withstand harsh outside conditions. Plaster, on the other hand, is mainly inside to give walls a smooth finish before painting them.
Durability:
Render needs to be tough and long-lasting, especially if it’s going to withstand the British weather. Plaster is softer as it doesn’t need to cope with as much adversity.
Mixing and Application:
While both need mixing, render often requires a thicker mix and sometimes even a bonding agent to ensure it sticks well to the wall. Plaster is usually lighter and easier to work with indoors.
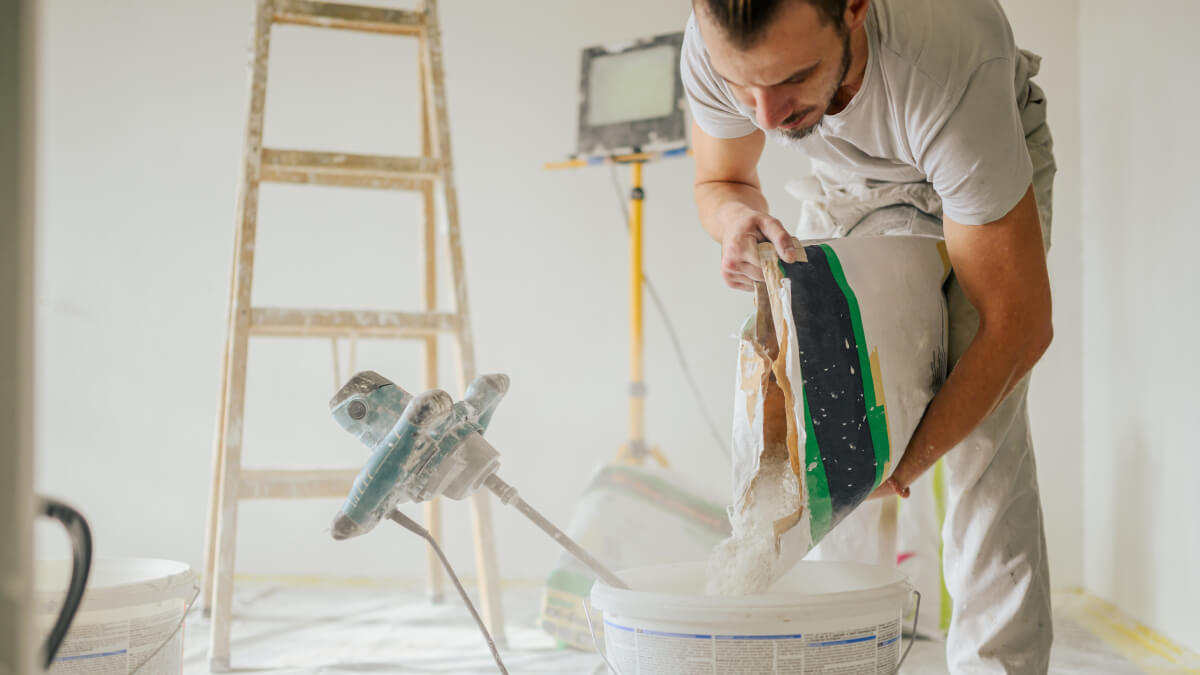
How To Mix Render
Render needs to be mixed to ensure that all the components – like cement, sand, and water – come together to form a strong, uniform mix. This helps the render stick to your walls and dry evenly. Mixing render might sound like a chore, but it’s pretty simple when you know what you’re doing. Here’s a straightforward guide to help you get it right.
- Gather Your Materials: You’ll need your render mix, clean water, a mixing bucket, and a trowel or a mechanical mixer if you’re doing a large area.
- Measure Accurately: The measurements should be on your render bag, including a water ratio.
- Add Water First: Carefully measure out the water and add it to your mixing basin. We recommend starting with less than you think you might need because if the render is too wet, it will become unusable.
- Gradually Add The Render Mix: Slowly add the dry render mix into the water. This gradual process helps the ingredients combine more smoothly.
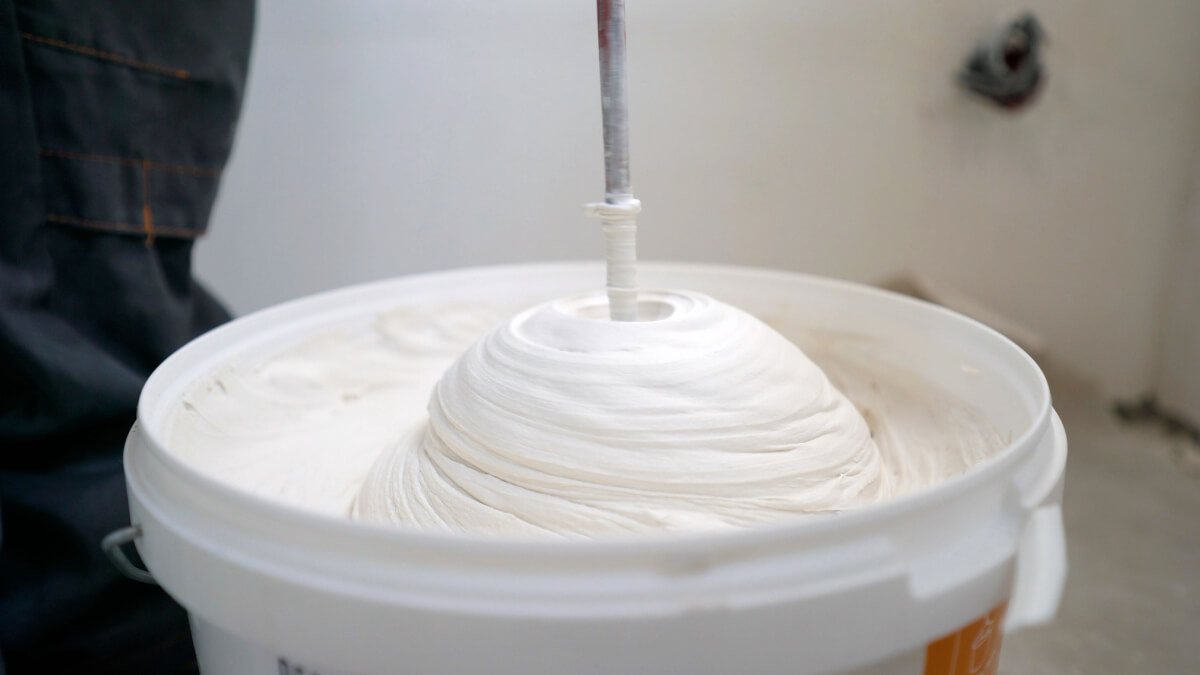
- Mix Thoroughly: Use your trowel or mixer to blend the mix until you get a smooth, even consistency.
- Check The Consistency: If the mix is too thick, add a bit more water. If it’s too runny, add a little more render. It should look like a thick, soft putty and stick to the walls.
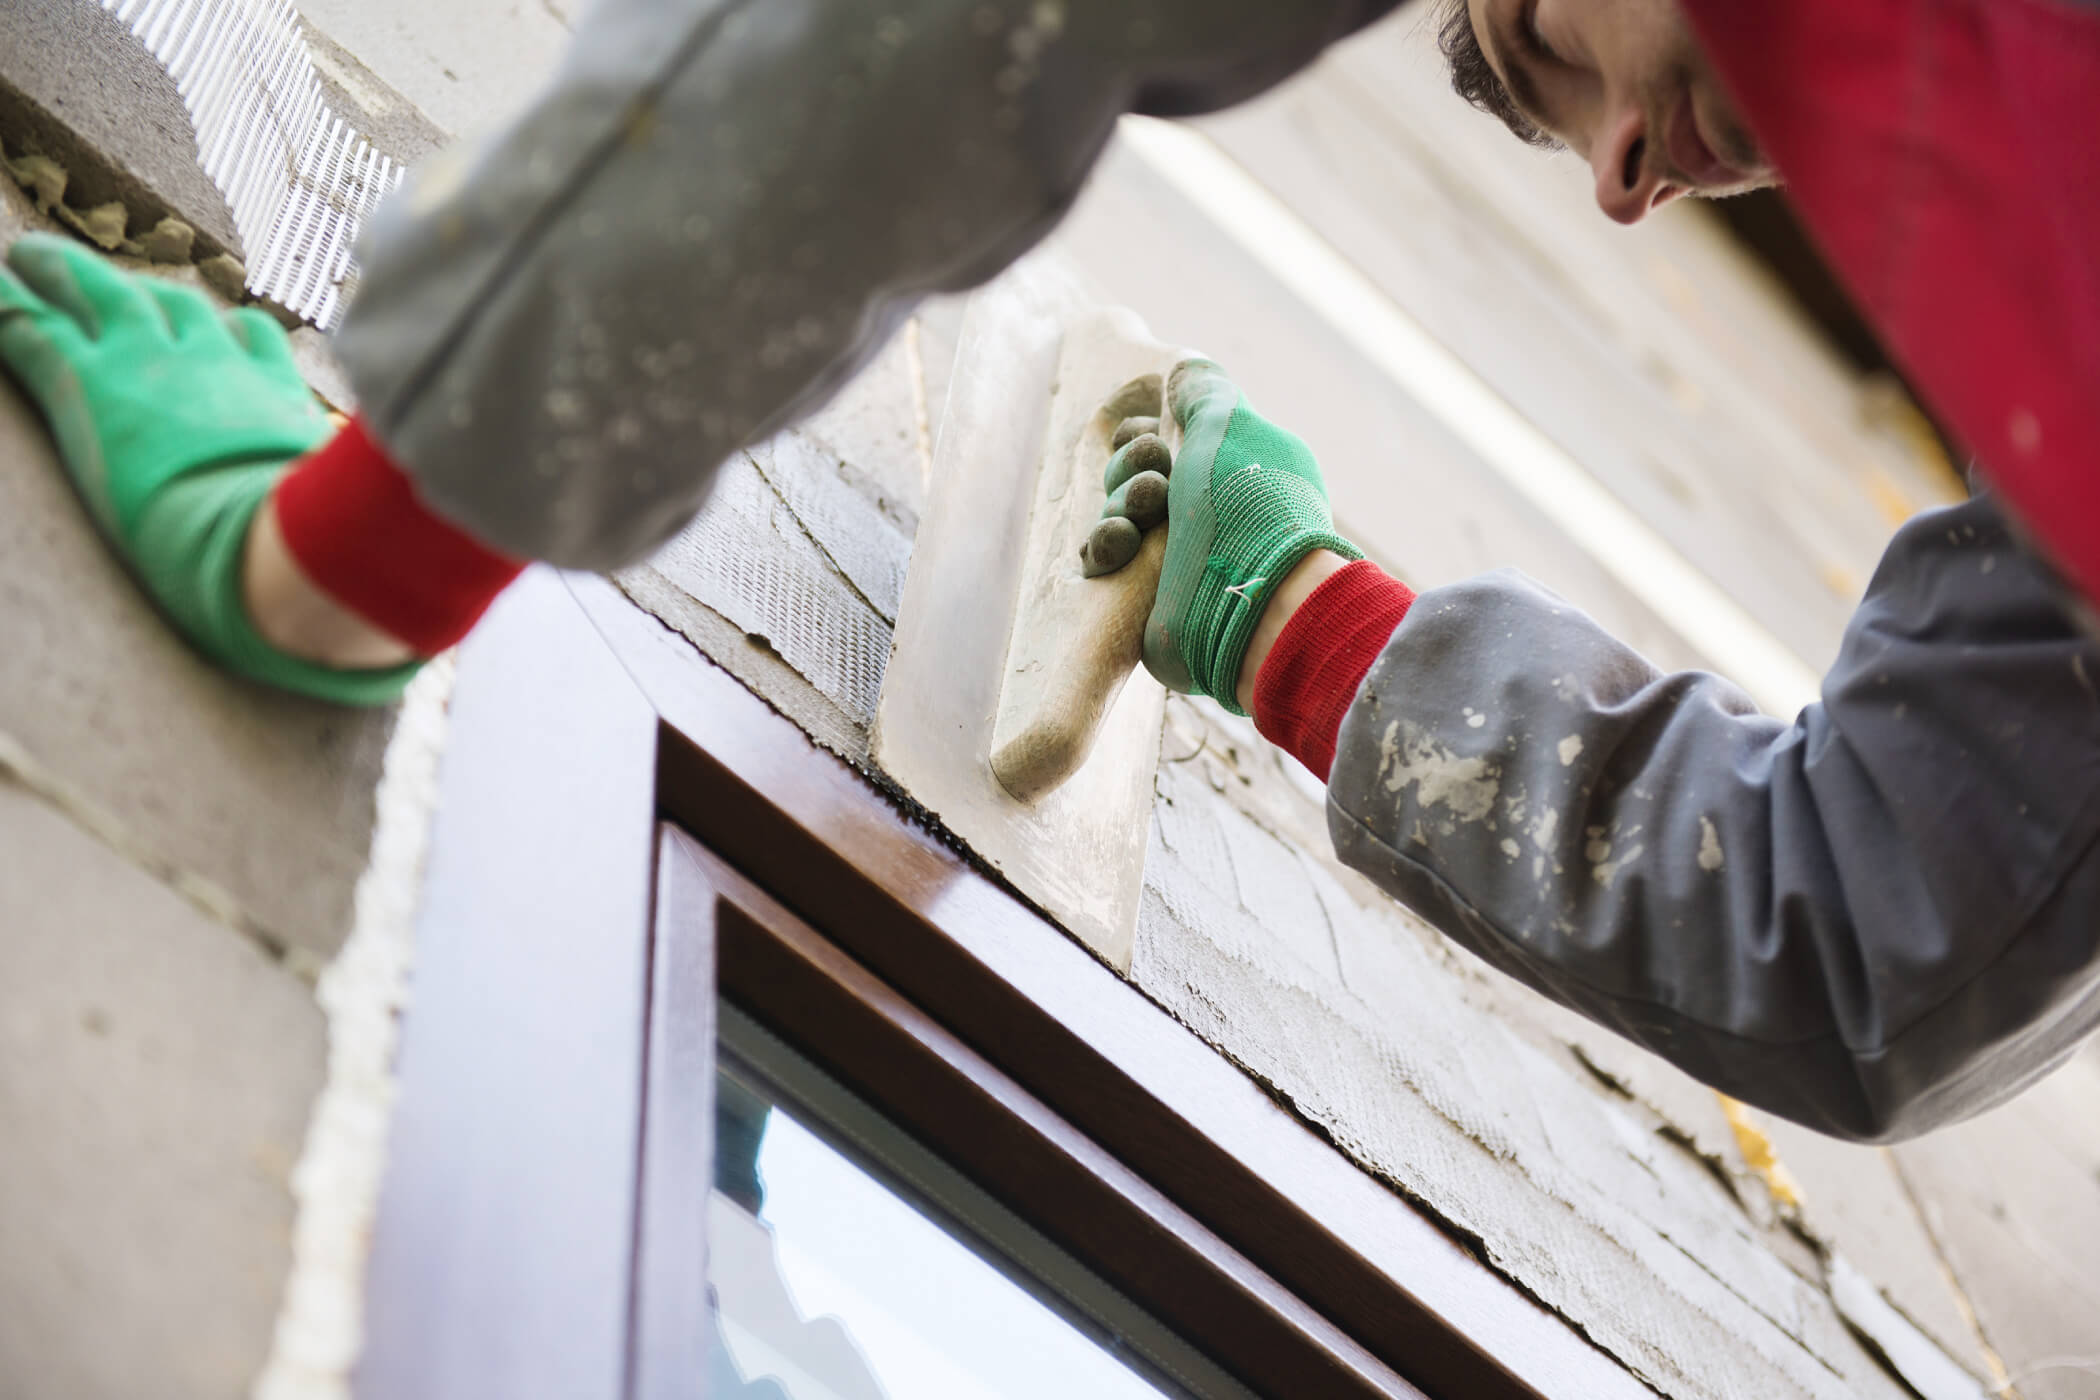
How To Render A Wall
Ready to get your hands a little messy? Rendering a wall is easier than you might think, but you’ll almost definitely need a shower afterwards. Here’s another step-by-step guide to help you achieve that perfect finish.
Step 1: Prepare The Wall
Clean The Surface: Your wall needs to be free of dust and dirt, so give it a wipe-down.
Repair Any Cracks: A smooth base is a necessity, so do your best to fill in any cracks or holes in the wall before starting.
Dampen The Wall: Render adheres better to a slightly damp wall, so give it a coat with a wet (but not too wet) sponge.
Step 2: Mix Your Render
Follow the steps from our mixing guide to get your render mix ready.
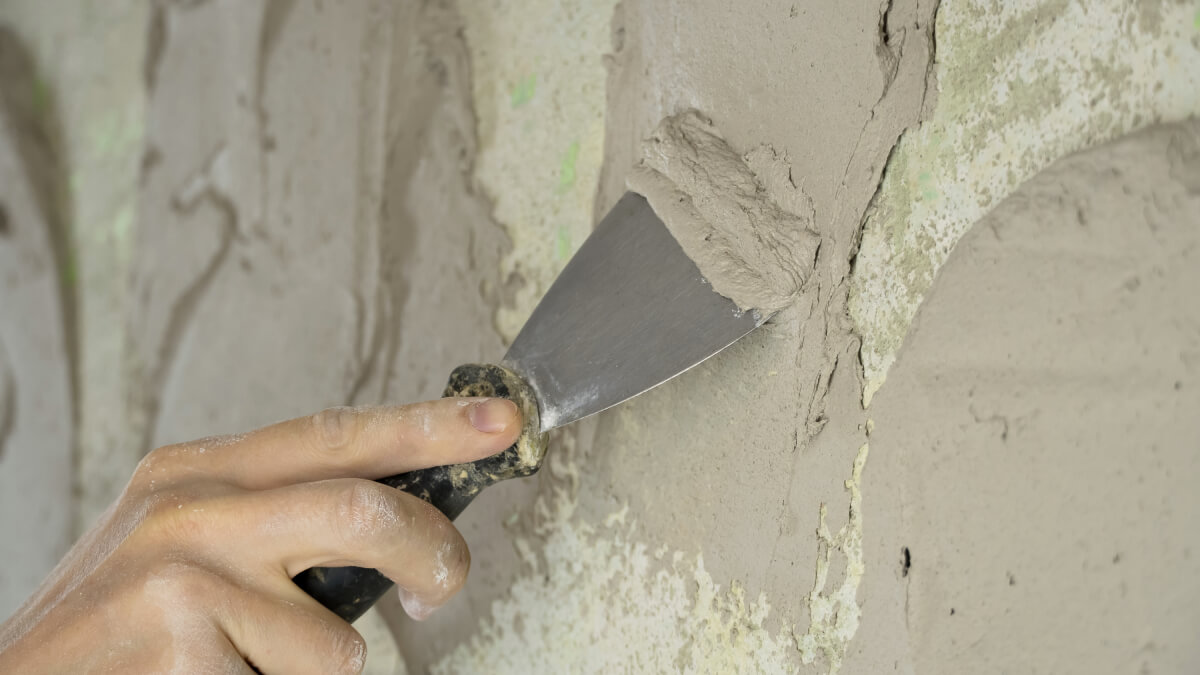
Step 3: Apply A Base Coat
Start At The Bottom: Begin applying the render at the bottom of the wall and work your way up, using a trowel to spread the mix evenly.
Smooth It Out: Use the flat side of your trowel to smooth the render as you go.
Step 4: Add A Second Coat (If Needed)
Check the First Coat: Once the first coat has started to set (but is still damp), you can apply a second coat for extra durability and a smoother finish.
Repeat the Process: Follow the same steps as before. Make sure the second coat is as even as possible.
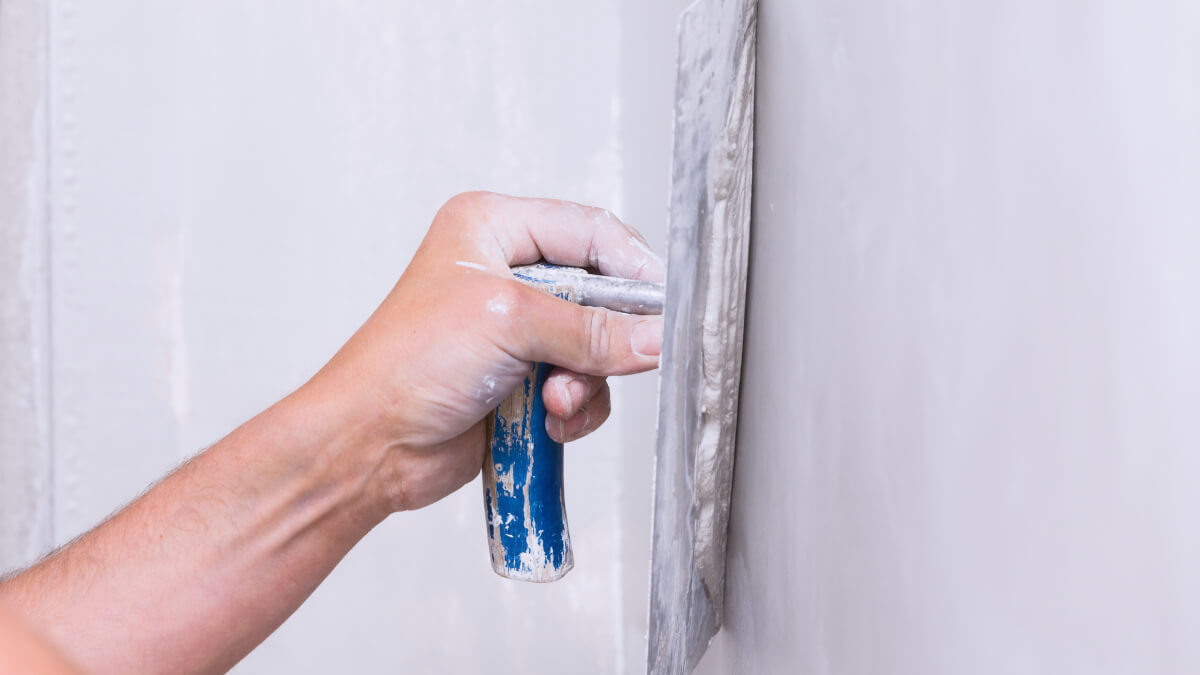
Step 5: Finish With a Trowel
Use a clean trowel to give your wall a final smooth finish. This step is all about details – take your time!
For more visual learners, check out this video from Plastering For Beginners for a useful walkthrough.
Can You Render Over Render?
If your chosen wall already has a coat of render, you may be wondering whether you can stick another layer over the top. The answer is: yes, you can render over render, but there are a few important things, like the condition of the existing render and your bonding agent, to keep in mind:
- Check the Existing Render: Make sure the current render is in good condition. If there are large cracks or flaking, you may need to repair these areas first.
- Clean Thoroughly: A clean surface is even more important here. Remove any loose material or dirt that might stop the new render from sticking properly.
- Apply a Bonding Agent: Sometimes, using a bonding agent can help the new render adhere better to the old layer. This is likely to make a huge difference to the final result.
- Thin Layers Are Best: When adding a new layer over old render, it’s best to apply a thin, even coat. Thick layers may not dry evenly and could lead to cracking.
How Much To Render A House?
One of the questions we get most often is: “How much does it cost to render a house?” In truth, it can vary massively depending on the size of your house, the type of render you choose, and whether you’re doing it yourself or hiring a professional.
Breaking Down The Costs
- Materials: The cost of your materials is likely to take up a large part of your budget. Fortunately, at Mitcham Builders Merchants, our prices are super competitive, so you can be sure you’re getting your money’s worth. Our render prices start at £12.95 for a 25kg bag of Weberend OCR One Coat Base Render.
- Labour: If you hire someone to render your house, labour costs can add up. Doing it yourself can save money, but it might take more time and effort.
- Additional Supplies: Don’t forget the cost of extra items like bonding agents, cleaning supplies, and tools. Investing a bit more to begin with can save you lots of money on repairs and maintenance down the line.
According to Checkatrade, you can expect to pay anywhere between £1200-£3300 to render a typical 2-bed terraced house with 40m² of exterior walls. For a more detailed breakdown of the costs, check out their full article.

Get Rendering With Mitcham Builders Merchants!
Rendering is a fantastic way to give your home a fresh, modern look while adding extra protection against the elements. From understanding what render is, to mixing it just right and applying it with care – we hope this guide has given you the confidence to take on your next project.
So, whether you’re sprucing up your home, tackling a renovation project, or just curious about the world of rendering, remember that we’re here to help every step of the way. Get rendering with Mitcham Builders Merchants, and let’s make your home as beautiful and durable as it can be!