If you’ve ever stepped into a freshly renovated room and admired the smooth, flawless walls, there’s a good chance dry lining had a hand in it. It’s one of those construction techniques that quietly does the hard work in the background, creating the perfect base for paint, wallpaper, or decorative finishes.
At its core, dry lining is all about speed, efficiency, and precision — and it’s become one of the most popular interior building methods in the UK. Whether you’re a professional tradesperson or tackling a home renovation project, understanding dry lining can make your work cleaner, faster, and more professional-looking.
As reputable builders merchants in South London, we’ve spent over 20 years providing high quality building supplies to both traders and the public. We know exactly what goes into a successful dry lining job — and we’re here to help you get the materials and know-how to do it right.
What Is Dry Lining & Why Does It Matter?
Dry lining might sound like an advanced construction term, but it’s actually a simple, modern approach to finishing interior walls and ceilings. Instead of using messy wet plaster, dry lining uses plasterboard panels (also known as drywall) that are fixed directly to a wall or ceiling, ready to be decorated almost immediately.
At Mitcham Builders Merchants, we’re proud to be one of the most trusted builders merchants in South London, providing quality products, expert advice, and same-day delivery to ensure your projects run smoothly.
In this complete guide, we’ll cover:
- What Is Dry Lining A Wall?
- Is Dry Lining The Same As Plasterboard?
- Why Is Dry Lining Important?
- Do You Need Building Regulation Approval For Dry Lining?
- How To Dry Line A Wall
What Is Dry Lining A Wall?
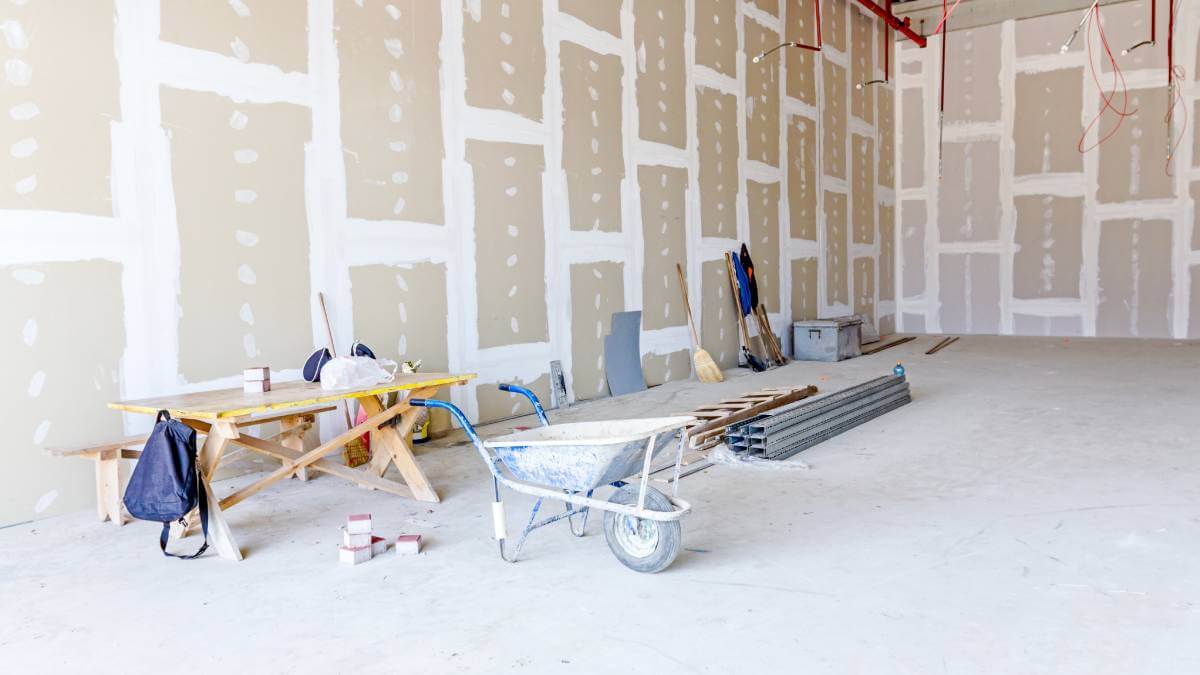
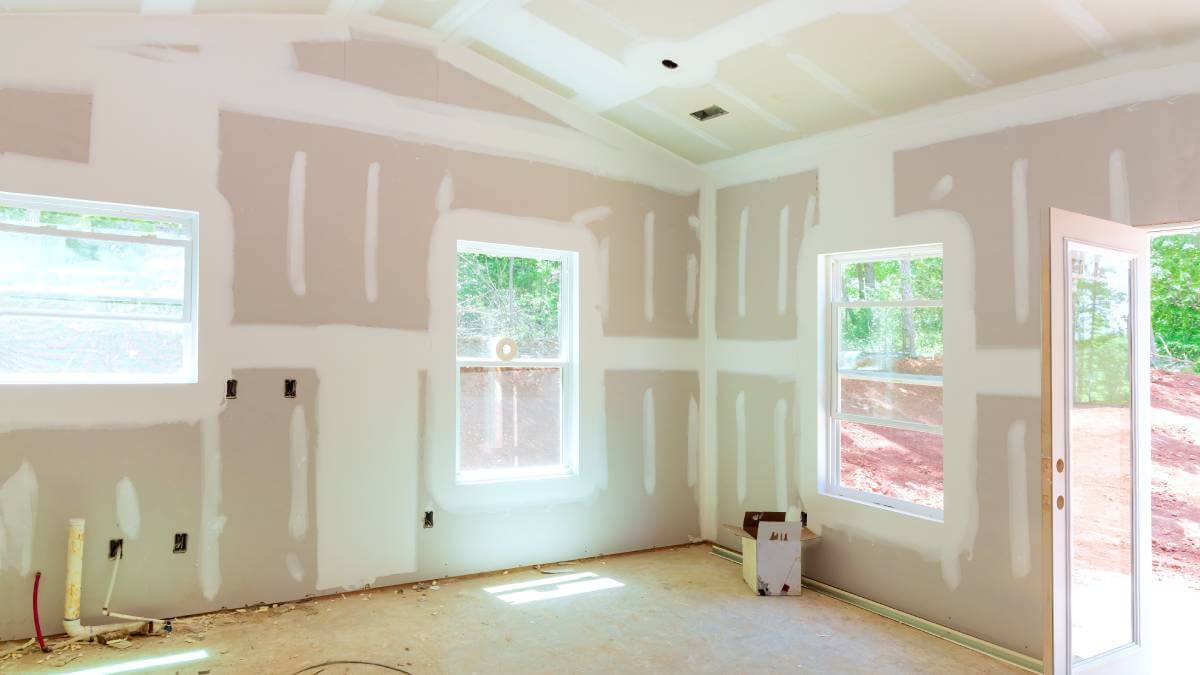
Dry lining is a construction method that involves attaching plasterboard to a wall or ceiling to create a smooth, flat surface ready for decoration. Unlike traditional wet plaster, this “dry” method uses materials that don’t require water to adhere, making it faster, cleaner, and less messy.
The plasterboard is typically attached using screws, adhesive, or both, and the joints between the boards are taped and filled to create a seamless surface. Once complete, the wall can be painted, wallpapered, or finished however you like — no days of drying time needed.
You’ll often see dry lining used in new builds, refurbishments, and commercial properties where speed and efficiency are key. It’s also ideal for older buildings where walls may be uneven or where insulation upgrades are required.
For more information on building techniques and standards, you can visit the CITB which offers excellent resources for trades and apprentices.
Is Dry Lining The Same As Plasterboard?
This is one of the most common questions we get asked at Mitcham Builders Merchants — and it’s an easy one to clear up.
Dry lining and plasterboard go hand in hand, but they’re not the same thing.
- Dry lining is the method of creating a smooth surface by fixing boards to walls or ceilings.
- Plasterboard (also known as drywall) is the material used in this process.
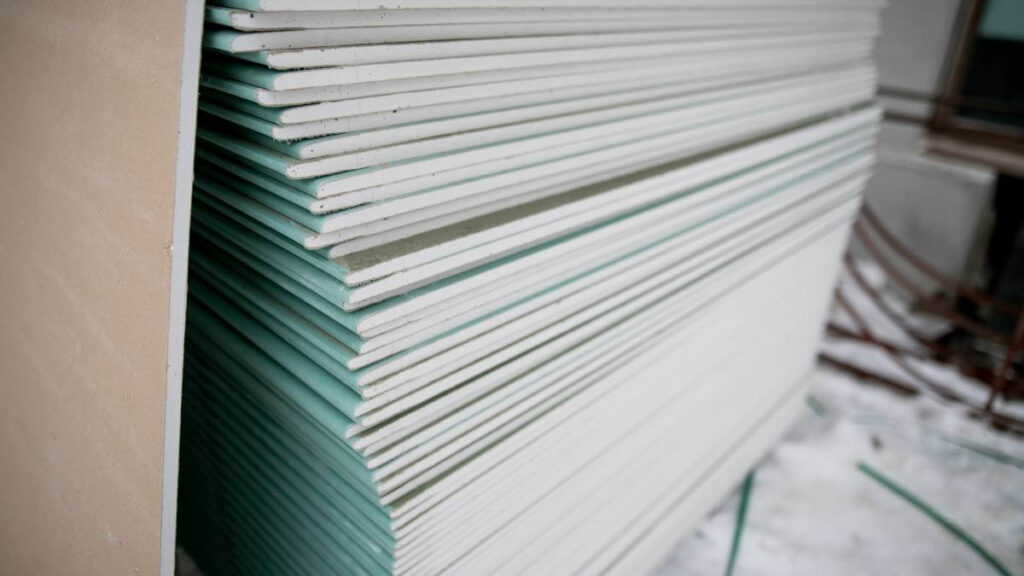
What Is Plasterboard?
Plasterboard is a sheet material made primarily from gypsum, a natural mineral, sandwiched between two layers of heavy-duty paper. It’s lightweight, easy to handle, and designed to create a smooth, even surface for painting or finishing.
There are several types of plasterboard to suit different needs:
- Standard boards: Perfect for general wall and ceiling applications.
- Moisture-resistant boards: Ideal for kitchens, bathrooms, and damp-prone areas.
- Fire-resistant boards: Used in walls or ceilings where fire protection is required.
- Soundproof boards: Excellent for improving acoustic performance between rooms.
Each type serves a specific purpose, helping builders and homeowners tailor their projects to achieve durability, comfort, and safety.
Why Is Dry Lining Important?
Dry lining might seem like a finishing touch, but it plays a crucial role in modern construction. It’s not just about making walls look neat — it’s about improving performance, safety, and energy efficiency.
Here are the key benefits:
Safety and Performance
- Fire protection: Dry lining systems can provide a vital layer of passive fire protection. Fire-rated plasterboards help contain and slow the spread of flames.
- Insulation: Dry lining creates space for adding insulation, boosting both thermal and acoustic performance. This keeps homes warmer in winter, cooler in summer, and quieter throughout the year. For more information on insulation, visit our article that outlines the different types of insulation and their uses.
- Moisture resistance: Special moisture-resistant boards prevent dampness and mold in high-humidity areas, such as bathrooms or kitchens.
Efficiency and Speed
- Faster installation: Unlike wet plaster, dry lining doesn’t require days of drying time. Once the boards are up and the joints filled, you can decorate almost immediately.
- Cost-effective: Quicker installation and fewer materials make dry lining a budget-friendly choice for both homeowners and professionals.
Versatility and Aesthetics
- Smooth finish: Perfectly flat walls and ceilings with minimal effort.
- Hides imperfections: Dry lining conceals uneven brickwork, pipes, and electrical wiring for a tidy, modern look.
- Creative freedom: You can use it to build feature walls, curved designs, or partitions.
For more insight into how insulation and dry lining improve energy performance, the Energy Saving Trust provides useful advice on making buildings more efficient.

Do You Need Building Regulation Approval For Dry Lining?
In many cases, yes — particularly if your project involves substantial renovation or you’re upgrading insulation. Building regulations exist to ensure safety, structural integrity, and energy efficiency.
Here’s when you might need approval:
When Building Regulations Apply
- Extensive internal or external work: If you’re re-rendering, re-cladding, or re-lining more than 25% of an external wall, you’ll likely need approval.
- Major renovation: Replacing more than half of an internal wall’s surface area triggers building regulations.
- Insulation upgrades: When dry lining is part of improving a thermal element (like an external wall), the new insulation must meet current efficiency standards.
- Specific materials: If using certain types of insulation (especially foam-based), they must comply with safety and emission standards.
Why It’s Necessary
- Thermal performance: Ensures your building retains heat effectively, reducing energy costs.
- Safety: Confirms work meets fire and structural safety standards.
- Compliance: Prevents legal issues — without approval, you could face fines or delays when selling your property.
For more details, refer to the official guidance on the GOV.UK website – a great resource for understanding your legal responsibilities as a builder or homeowner
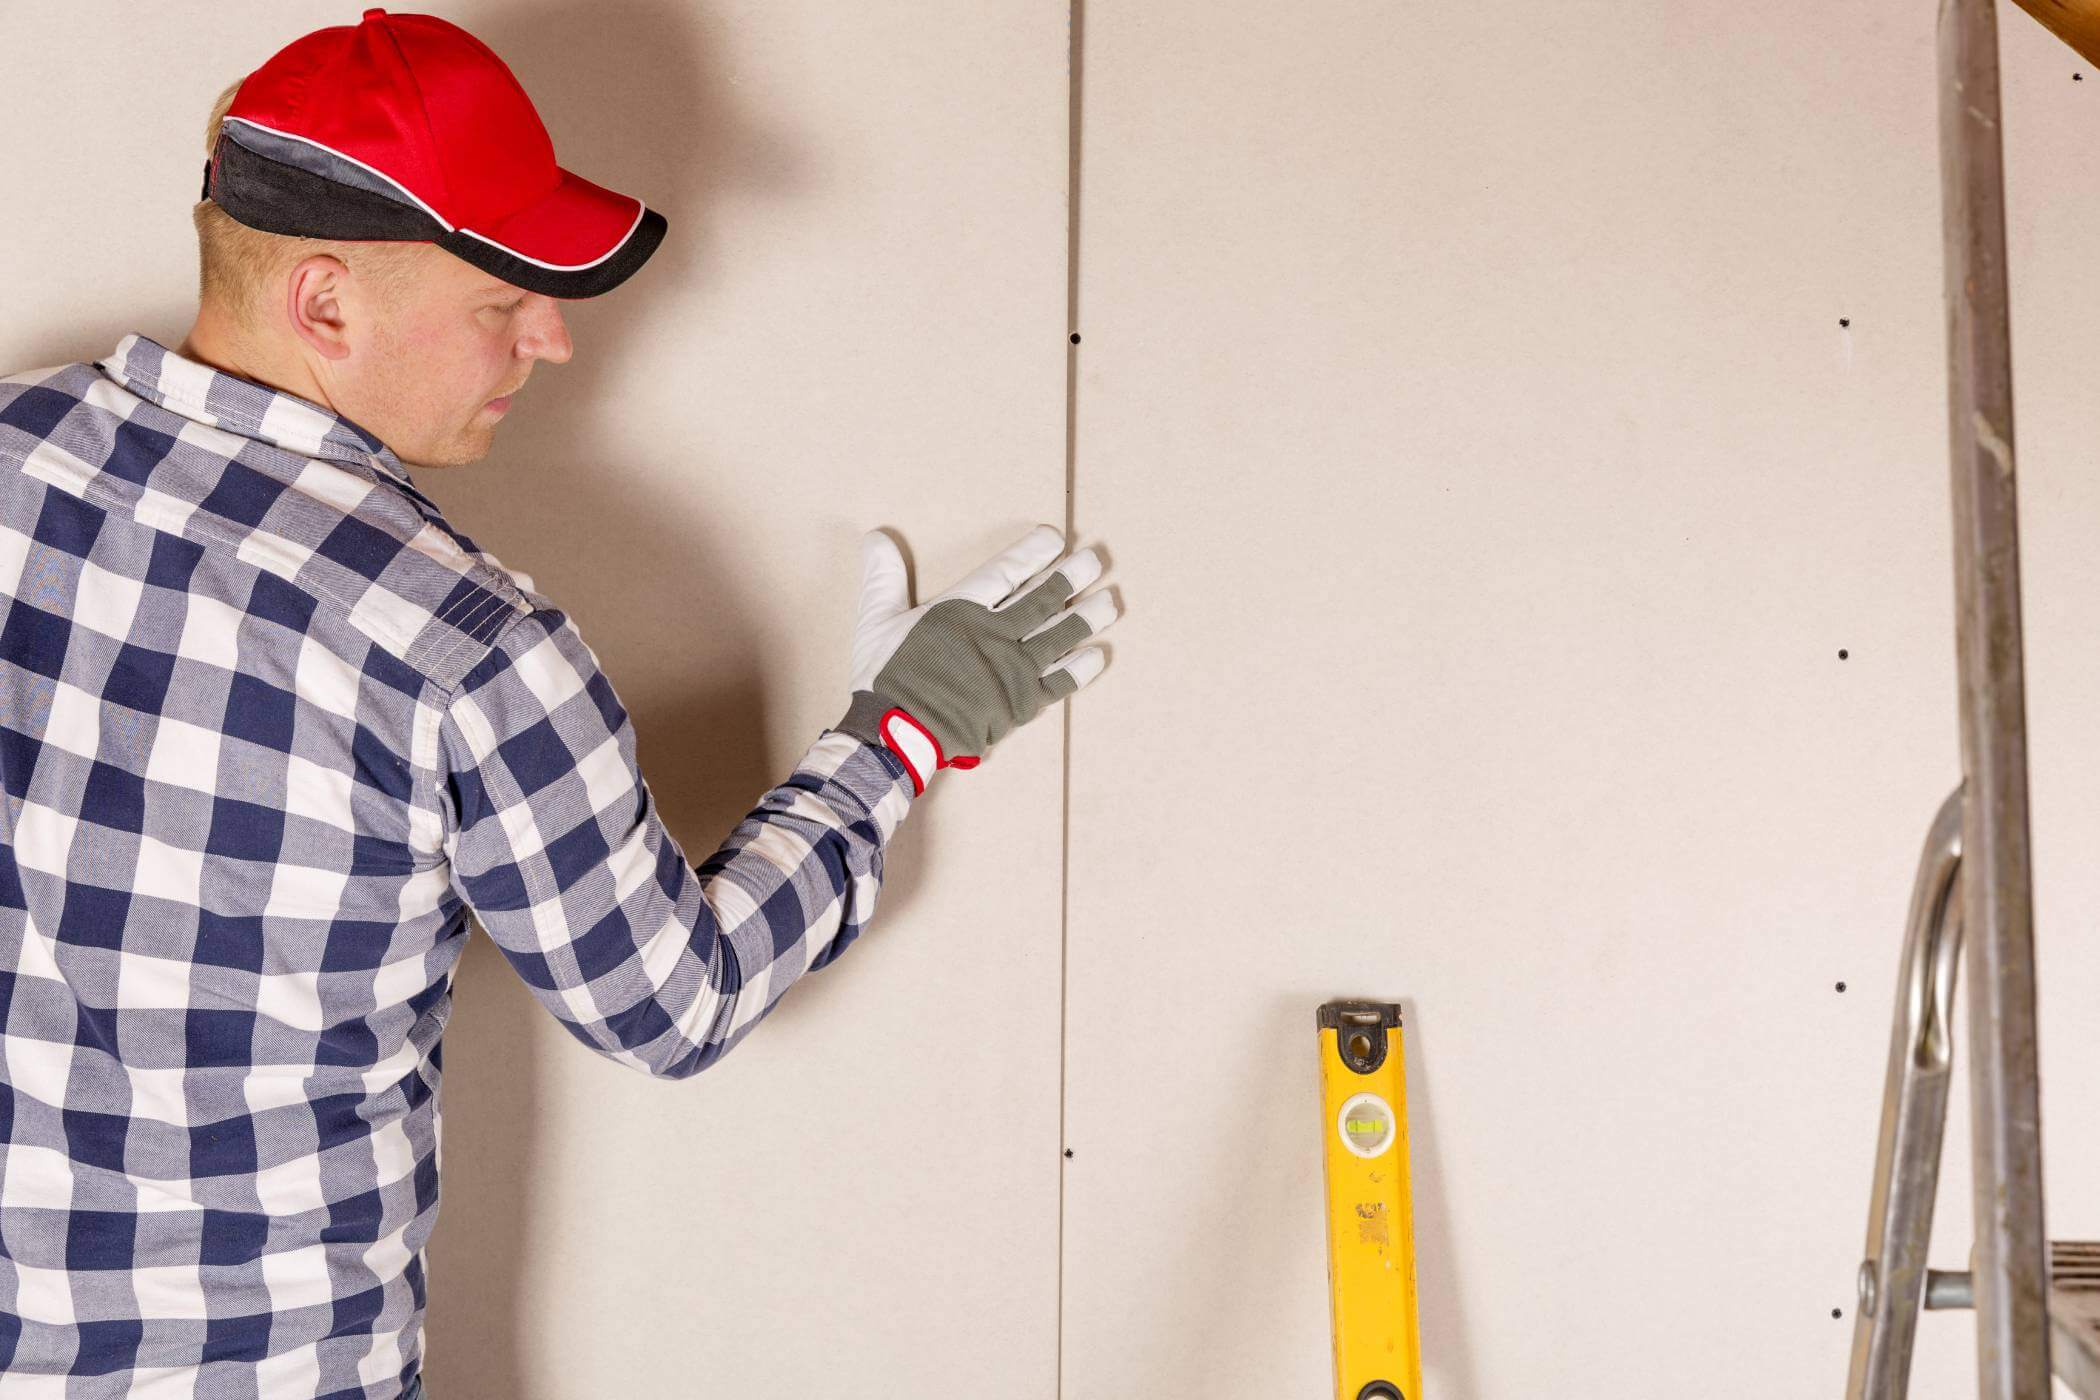
How To Dry Line A Wall
Dry lining may sound daunting, but with the right materials and method, it’s a straightforward and rewarding process. Here’s a simple guide to doing it properly.
1. Prepare the Wall
- Clean away dust, dirt, or debris.
- If the wall is porous (for example, brick), apply a PVA sealer to help the adhesive bond.
- Check if the wall is level using a spirit level; if not, adjust it using thicker dabs of adhesive or packing where necessary.
2. Cut the Plasterboard
- Measure your wall and mark out your cuts accurately.
- Score the front of the board with a sharp knife, snap it along the cut, and trim the edges neatly.
- Cut out openings for sockets or switches using a pad saw or utility knife.
3. Attach the Plasterboard
You can fix plasterboard using one of two main methods:
Dot and Dab:
- Apply dabs of dry wall adhesive roughly every 20cm across the wall.
- Add a continuous bead of adhesive around the edges for stability.
- Press the board into place and use a straight edge to ensure it is level.
Screwing to Studs:
- Secure the boards to timber or metal studs using drywall screws.
- Space screws roughly 12–16 inches apart along the edges and 8–12 inches in the centre.
- Check each board is level before moving on.
4. Finish the Joints
- Once adhesive or screws are set, fill the gaps between boards with jointing compound.
- Apply jointing tape and smooth it over with a finishing knife.
- Fill screw holes and any imperfections, then apply a second coat once dry.
5. Sand and Paint
- Sand the surface once everything’s dry for a flawless finish.
- Wipe away dust, apply primer, and then paint or wallpaper as desired.
Pro tip: For high-humidity areas like bathrooms, always use moisture-resistant boards and ensure good ventilation.
Building Better with Dry Lining
Dry lining might seem simple, but it’s one of the most effective ways to transform a space quickly and professionally. From energy efficiency and safety to speed and style, it offers countless benefits for both builders and homeowners. With the right materials and a reliable supplier, your next dry lining project can be seamless from start to finish.
At Mitcham Builders Merchants, we provide top-quality builders supplies in Croydon and beyond. Whether you need plasterboard, adhesive, insulation, or expert advice, our team is here to help you build better. Visit us in-store or get in touch today to find out how we can support your next project.