Looking to give your garden a complete makeover? Porcelain slabs are one of the best ways to do exactly that. These slabs add instant kerb appeal and come in loads of styles to match any garden design. Plus, they’re tough as nails – resistant to stains, scratches, and the worst the British weather can throw at them.
But we won’t sugar-coat it – laying porcelain slabs takes a bit more know-how than your standard concrete paving. The good news? With the right guidance, even DIY beginners can crack it. We’ve put together this step-by-step guide to help you get that perfect finish you’re after.
Before we explain how to lay porcelain slabs like a pro, why not check out the extensive range of porcelain slabs we provide at Mitcham Builders Merchants? We stock all kinds of top-quality building materials in Croydon, so you’re sure to find something to suit your projects.
How To Lay Porcelain Slabs: Step-By-Step
Whether you’re tackling your first garden project or you’re a seasoned DIYer looking to brush up on your skills, we’ve got you covered. This guide walks you through everything from prepping your space to adding the finishing touches to your new patio.
We’ll start with a list of all the tools you’ll need, then break down the installation process into manageable steps. We’ve also thrown in some pre-installation tips, cutting techniques, and maintenance advice to keep your patio looking fantastic for years to come.
- What Tools Will You Need?
- Laying Porcelain Slabs: Step-by-Step Guide
- How To Cut Porcelain Slabs
- Can You Lay Porcelain Slabs On Dry Mix?
- How To Clean Porcelain Slabs
What Tools Will You Need?
Getting the right kit together before you start will save you endless headaches. Here’s what you’ll need to get the job done properly (Warning: it’s a lot!):
- Spade and rake – For clearing and levelling your base area
- Wacker plate – To compact your sub-base (you can hire one of these from most tool hire shops)
- Spirit level and string line – Essential for getting those slabs perfectly level and aligned
- Rubber mallet – For gently tapping slabs into position
- Tape measure and marking tools – Accuracy is key for a professional finish
- Trowel – For applying mortar and adhesive
- Angle grinder with diamond blade – For cutting slabs (wear appropriate safety gear!)
- Bucket and sponge – For cleaning up as you go
- Slabbing system – Spacers and levelling clips help maintain consistent gaps and heights
- Knee pads – Trust us, your knees will thank you later
- Mixer – For preparing mortar and adhesive
- Brush – For applying primer to the back of slabs
- Jointing tool – For neat, professional-looking joints
Laying Porcelain Slabs: Step-by-Step Guide
Right then, tools gathered and porcelain slabs at the ready? Let’s get stuck in. Follow these steps and you’ll have a patio that’ll be the envy of the neighbours in no time.
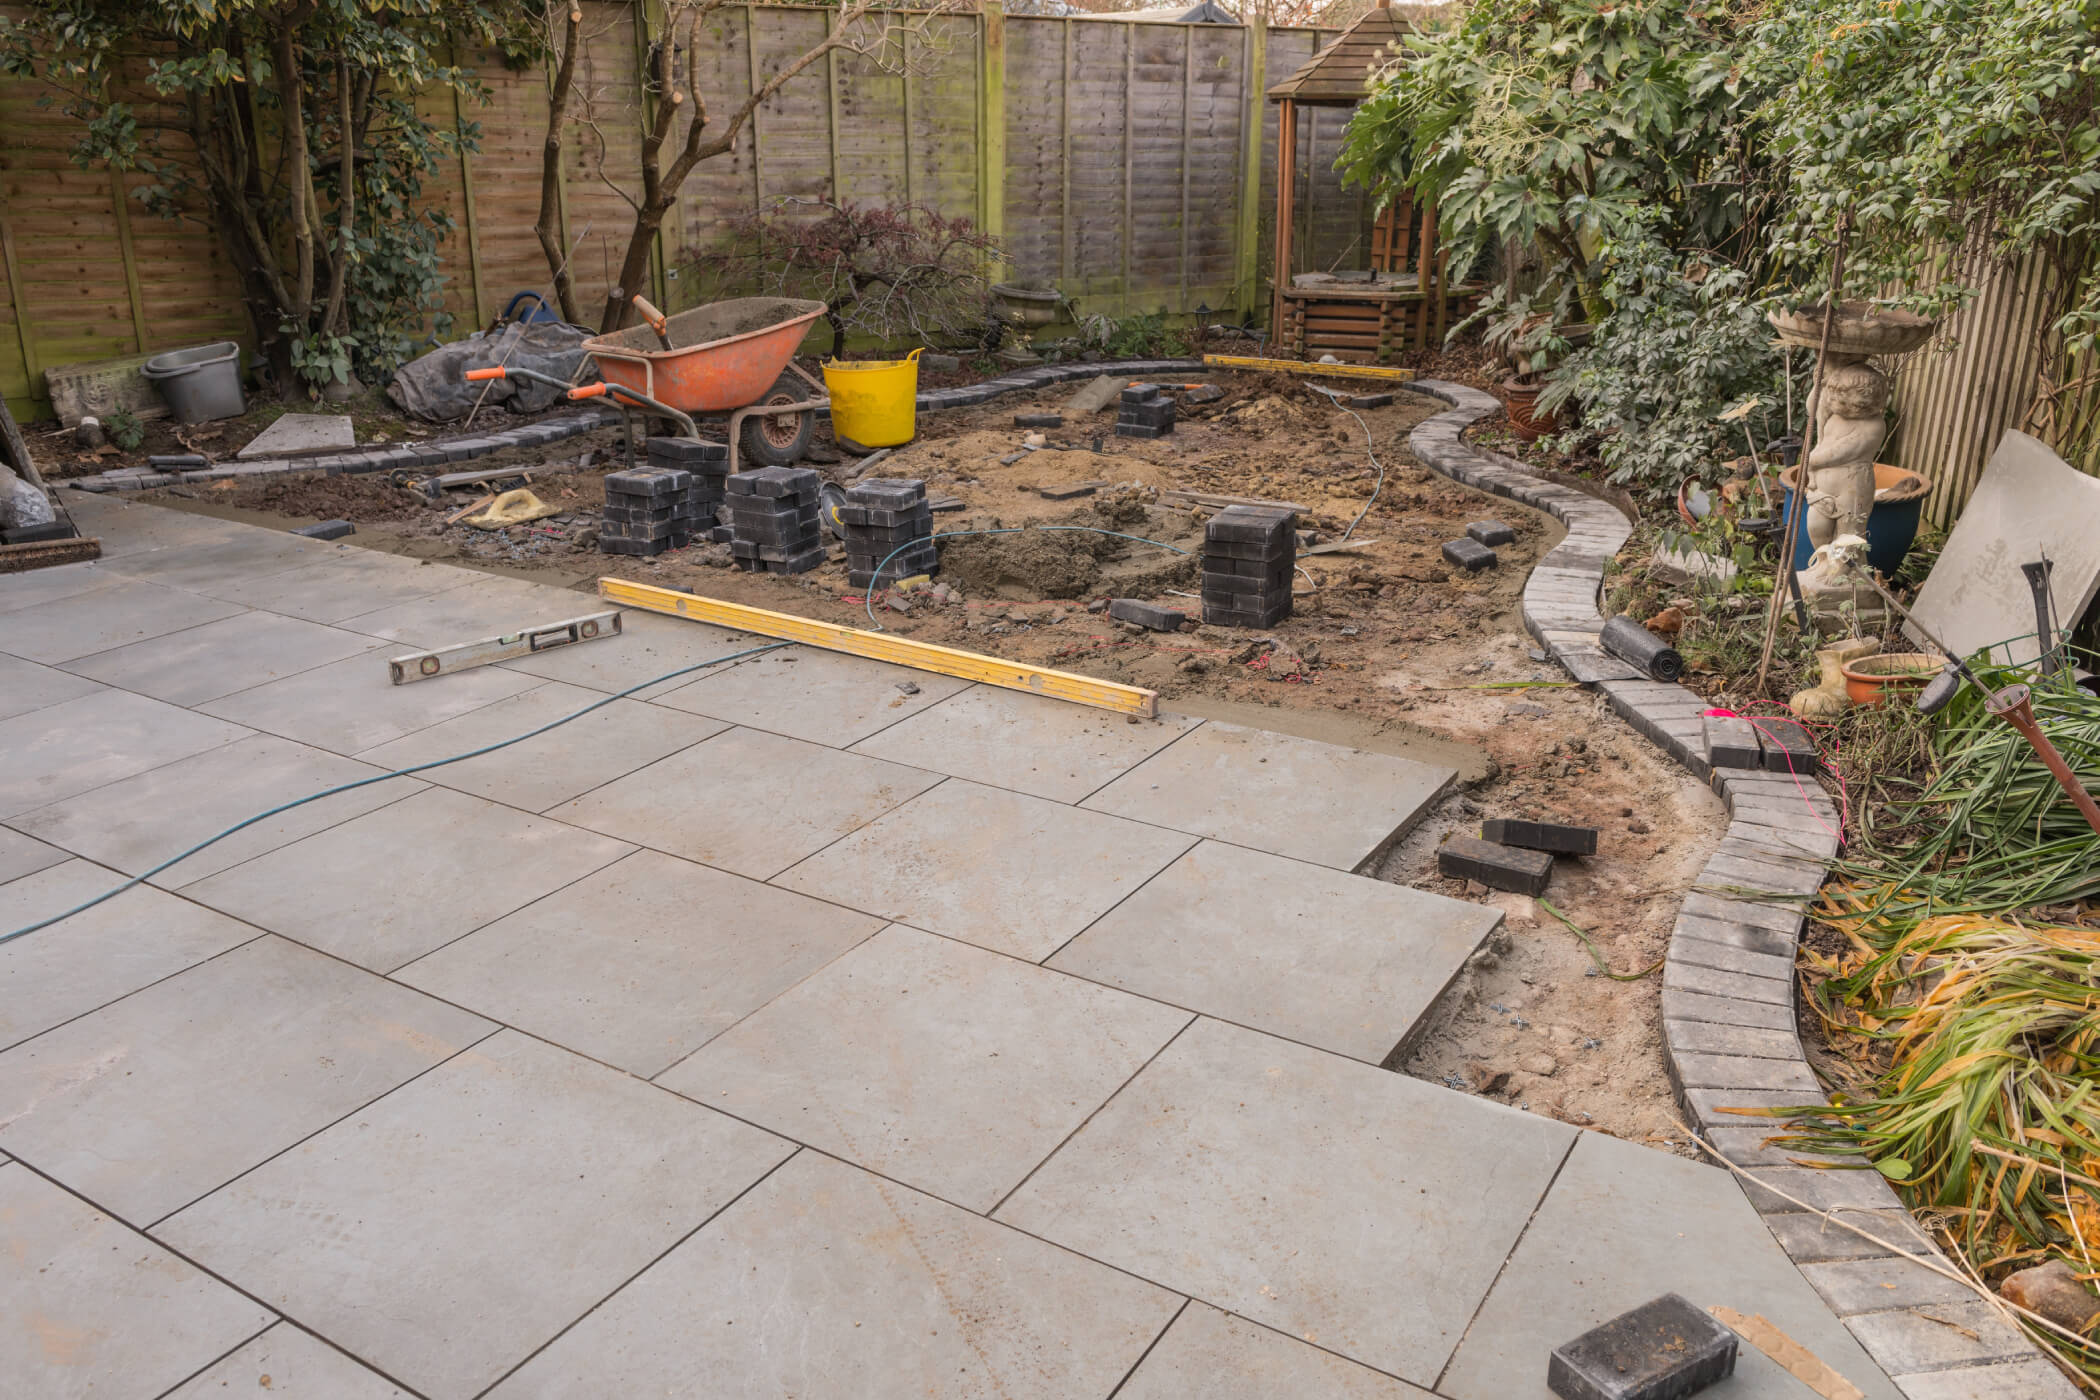
1. Prepare Your Base
First things first – clear the area completely. Remove any turf, plants, and debris. Mark out your patio area using pegs and string for a straight edge guide. Dig down about 150mm to make room for your sub-base and base layers.
2. Lay A Sub-Base
Pour in a 100mm layer of MOT Type 1 (that’s crushed stone to the uninitiated). Rake it level across the whole area, then compact it thoroughly with a wacker plate. This creates a solid foundation that’ll stop your slabs from shifting or cracking later on.
3. Lay The Full Base
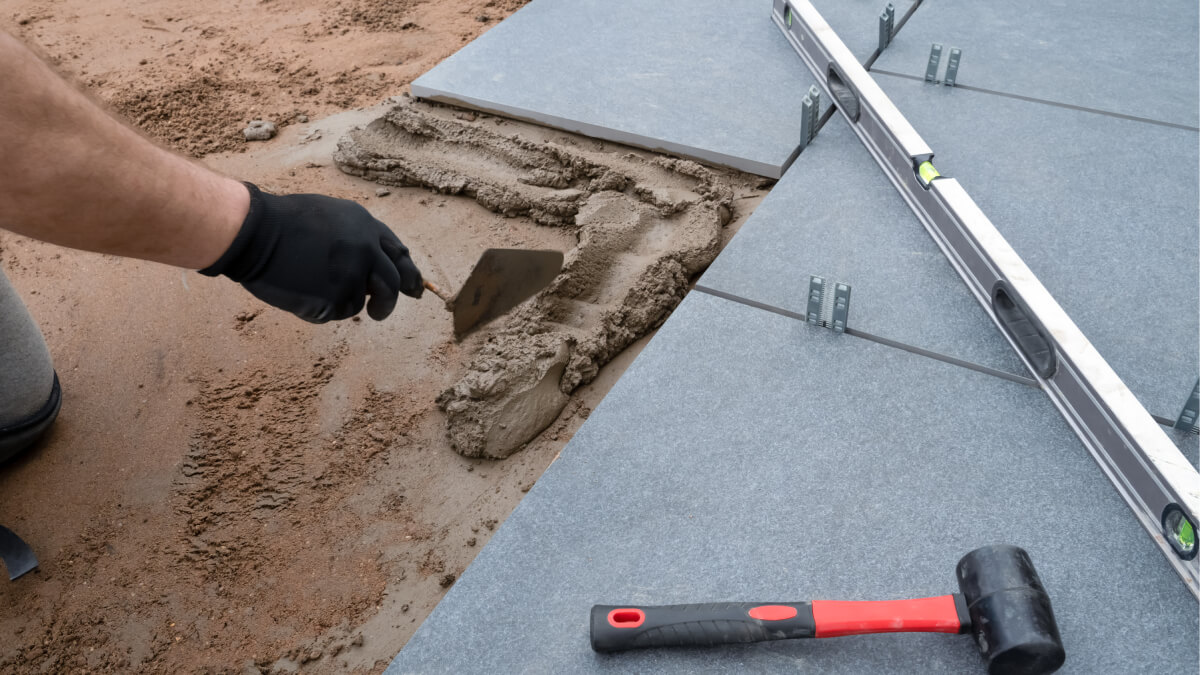
Mix up a semi-dry mortar (4 parts sharp sand to 1 part cement) and spread it evenly over your sub-base. Aim for a thickness of about 50mm. This needs to be well-compacted but not fully set before you start laying slabs.
4. Prime Your Slabs
This is super important with porcelain – don’t skip it! Apply a slurry primer to the back of each slab using a brush. This helps the slab bond properly with the mortar. Mix the primer according to the manufacturer’s instructions – usually, it’s a runny mix that you can brush on.
5. Lay The Slabs In Position
Starting from one corner, carefully position your first slab. Press it down firmly and tap gently with a rubber mallet until it’s bedded into the mortar. Work outwards in a logical pattern, checking your alignment as you go.
6. Use Spacers
Put spacers between each slab to maintain consistent gaps. For porcelain, we recommend at least 5mm gaps to allow for any slight size variations and to give you room for proper jointing later.
7. Check Levels
Use your spirit level constantly – both along the length and width of slabs and from slab to slab. You’re aiming for a slight gradient (about 1:80) away from any buildings to allow for water drainage.
8. Add The Jointing Compound
Once all slabs are laid and the mortar has set (usually after 24 hours), brush in a suitable jointing compound or grout. Make sure it’s specifically designed for outdoor porcelain – these typically offer better resistance to weeds and weather damage.
9. Let it dry
Patience is a virtue! Let everything dry according to the manufacturer’s instructions – usually at least 24-48 hours before walking on it, and a good week before you start dragging garden furniture across it.
That’s a lot to take in, we know! So, if you’re more of a visual learner here’s a video guide instead:
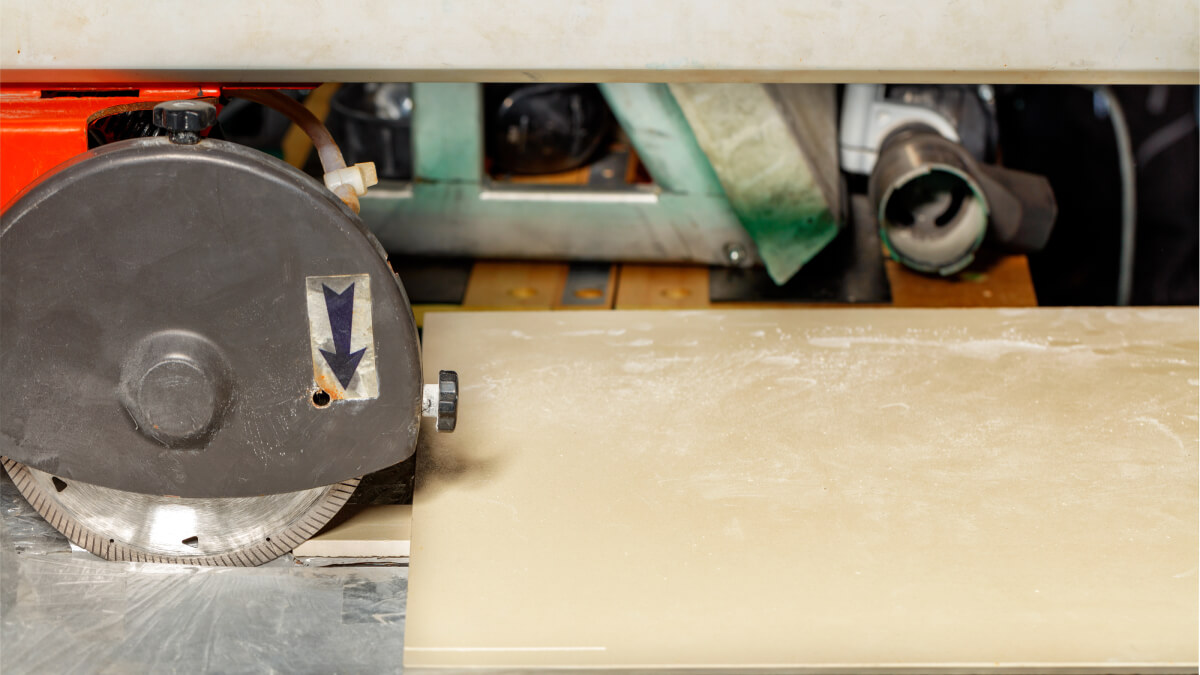
How To Cut Porcelain Slabs
Sometimes you’ll need to cut slabs to fit around edges, posts, or awkward corners. Unlike concrete slabs, porcelain requires specific cutting techniques:
- Measure twice, cut once – Mark your cutting line clearly on both sides of the slab with a pencil.
- Get the right blade – Use a diamond blade specifically designed for porcelain. These aren’t cheap, but they’re essential for clean cuts without chipping.
- Cut slow and steady – Set up your slab on a stable surface. For straight cuts, score along your line first with light pressure, then make a full-depth cut. Take it slow to avoid overheating the blade.
- Cool the blade – If making multiple cuts, regularly cool your blade with water to prevent it from overheating and potentially cracking the porcelain.
- Edge finishing – Porcelain can leave sharp edges after cutting. Use a rubbing stone to smooth these down for a safer, more professional finish.
Remember your safety gear – goggles, gloves, ear protection, and a dust mask are all must-haves when cutting porcelain.
Can You Lay Porcelain Slabs On Dry Mix?
The short answer is yes, you can lay porcelain slabs on a dry mix – but we wouldn’t recommend it for beginners. Here’s what you need to know: Dry-mix laying (sometimes called the dry-set method) involves spreading a dry mixture of sand and cement, laying the slabs, and then wetting it afterwards to activate the cement. While this method works well for concrete or natural stone, porcelain is less forgiving.
Porcelain slabs are less porous than concrete, which means they don’t absorb water from the mix in the same way. This can lead to patchy setting and unstable slabs if not done properly.
If you’re set on using a dry mix method:
- Make sure your sub-base is rock solid
- Use a mix with higher cement content (3:1 rather than 4:1)
- Ensure the entire area gets evenly soaked afterwards
- Consider adding a bonding agent to your mix
For best results with porcelain, we still recommend the wet mortar method described in our step-by-step guide above, especially if it’s your first time laying slabs.
How To Clean Porcelain Slabs
One of the biggest selling points of porcelain slabs is how easy they are to maintain. But even the best slabs need a bit of TLC to keep them looking fresh. Here’s how to keep your porcelain patio in tip-top condition:
Regular cleaning:
- Sweep regularly to remove debris and leaves
- Rinse with clean water and a soft brush for general cleaning
- For stubborn dirt, use warm soapy water (washing-up liquid works a treat)
Deeper cleaning:
- For more stubborn stains, use a pH-neutral cleaner specifically designed for porcelain
- Avoid acid-based cleaners, which can damage the surface over time
- A pressure washer on a low setting can be used, but keep the nozzle at least 30cm from the surface
What to avoid:
- Steer clear of bleach or harsh chemicals
- Don’t use wire brushes or abrasive scrubbers
- Avoid dragging heavy furniture across the surface
Seasonal maintenance:
- In autumn, clear leaves promptly to prevent staining
- In winter, avoid using salt to melt ice as it can damage the surface (use sand instead)
- In spring, give your patio a thorough clean to remove winter grime
A well-maintained porcelain patio can look good as new for decades, making it well worth the initial effort of proper installation.

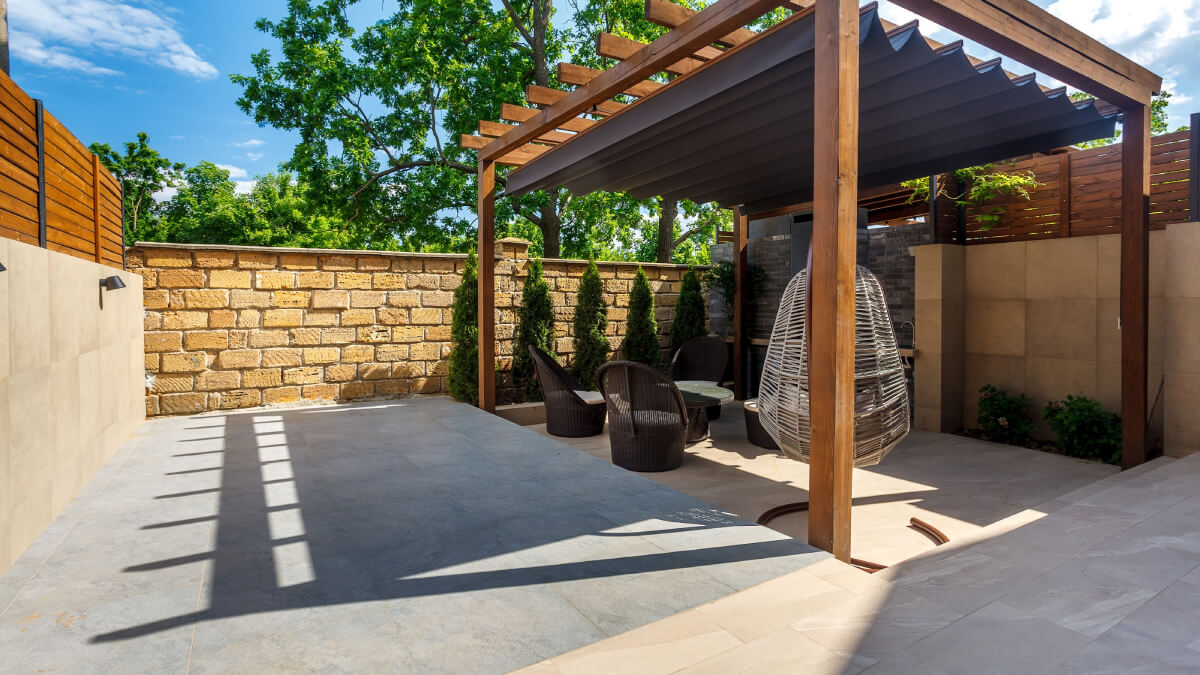
Get Your Garden Looking Its Best
So there you have it – everything you need to know about laying porcelain slabs like a pro. From selecting the right tools to putting the finishing touches on your joints, we’ve covered all the essentials to help you create a patio that’ll stand the test of time.
Remember, the key to success is in the preparation – get your base right, take your time with the laying, and your porcelain slabs will reward you with years of trouble-free use and a garden that’s the envy of the street.
Need some building supplies in Croydon for your next garden project? Pop down to Mitcham Builders Merchants and have a chat with our friendly team. We’ve got everything you need to get your garden sorted.