Walk into any older property, and there’s a good chance you’ll spot the telltale signs – peeling paint, crumbling plaster, that musty smell that just won’t shift. Damp is one of the most common problems facing property owners, and if left unchecked, it can cause serious damage to your building’s structure and create health risks for anyone living there.
At Mitcham Builders Merchants, we’ve been supplying building materials in Croydon to professionals and homeowners for over 20 years. In that time, we’ve helped countless customers tackle damp problems, from minor moisture issues to major structural damp proofing projects. Learning how to damp proof a wall properly is essential knowledge for any builder, property developer, or homeowner looking to protect their investment.
Whether you’re renovating an old property, dealing with rising damp, or simply want to prevent moisture problems before they start, this guide will walk you through how to damp-proof a wall effectively. Damp proofing might seem complicated, but with the right materials, techniques, and advice, it’s a problem you can tackle effectively.
How To Damp Proof A Wall: A Complete Guide
Damp proofing a wall involves creating a barrier that prevents moisture from penetrating through brickwork, stonework, or other building materials. It’s a crucial process that protects your property’s structure and maintains a healthy indoor environment. This comprehensive guide covers everything from understanding what damp proofing actually is, through to practical techniques for different wall types.
Here’s what we’ll cover:
- What is damp proofing?
- Why is damp proofing necessary?
- How much does damp proofing cost?
- How do you damp-proof a wall?
- Common mistakes to avoid
- Why choose Mitcham Builders Merchants?
What is damp proofing?
Damp proofing is the process of creating a barrier within or on the surface of walls to prevent moisture from penetrating into your building. Think of it as giving your walls a waterproof shield that keeps water out whilst still allowing the building to breathe properly.
There are several types of damp that can affect buildings, and understanding which one you’re dealing with is the first step to fixing it:
Rising Damp
This occurs when groundwater seeps up through walls from the foundation, much like a sponge absorbs water. It typically affects the bottom metre of walls and occurs when the damp proof course (DPC) has failed or is missing entirely. You’ll often see a tide mark on internal walls, with damaged plaster and skirting boards.
Penetrating Damp
This type of damp originates from outside the building, typically caused by defects in the building’s external envelope. Damaged pointing, cracked render, leaking gutters, or broken roof tiles can all allow water to penetrate through to internal walls. Unlike rising damp, penetrating damp can appear anywhere on a wall, not just at the bottom.
Condensation
Whilst not technically a damp penetration, condensation is the most common moisture problem in homes. It occurs when warm, moist air meets cold surfaces, creating water droplets. Poor ventilation, inadequate heating, and lifestyle factors all contribute to condensation issues.
Proper damp proofing addresses these issues by creating physical or chemical barriers that prevent moisture movement whilst maintaining the building’s ability to breathe. Modern damp proofing materials and techniques have come a long way, offering solutions that are both effective and long-lasting.
Why is damp proofing necessary?
Damp isn’t just an aesthetic problem that makes your walls look unsightly. It can cause serious structural damage and create genuine health risks if left untreated. Here’s why damp proofing should be a priority:
Structural Protection
Moisture damages building materials over time. Bricks and mortar can deteriorate, timber becomes rotten, and metal components corrode. In severe cases, damp can compromise the structural integrity of your property, leading to expensive repairs that go far beyond simple damp treatment. The longer the damp is left untreated, the more extensive and costly the damage becomes.
Health Concerns
Damp environments encourage mould growth, which releases spores into the air. These spores can trigger respiratory problems, worsen asthma, cause allergic reactions and create various other health issues, particularly for children, elderly people and those with existing health conditions. The UK government recognises damp and mould as significant health hazards that should be addressed promptly.
Property Value
Properties with damp problems are harder to sell and achieve lower prices. Mortgage lenders often require damp issues to be resolved before approving loans, and surveys will flag damp as a major concern. An article from Smoothsale says 87% of homebuyers would be put off by damp. Investing in proper damp proofing protects your property’s value and makes it more attractive to potential buyers.
Energy Efficiency
Damp walls lose heat much faster than dry walls. Weatherdry explains that when your walls are wet, your heating system has to work harder to maintain comfortable temperatures because they lose their thermal resistance. Properly damp-proofed walls help insulate your property more effectively, reducing heating costs and improving comfort.
Prevention Is Better Than Cure
Installing proper damp proofing during construction or renovation is far cheaper and easier than dealing with damp problems later. By the time damp becomes visible, it’s often already causing hidden damage behind plaster and within wall cavities.

How much does damp proofing cost?
The cost of damp proofing varies enormously depending on several factors. Understanding these costs helps you budget properly and decide whether to tackle the work yourself or hire professionals.
DIY Material Costs
If you’re doing the work yourself, you’ll need to budget for materials, including damp proof membranes, tanking slurry, injection cream or fluid, waterproof renders, and replastering materials. For a typical wall, expect to spend between £150 and £500 on materials, depending on the size of the area and the products you choose.
Professional Installation
Hiring specialists to damp-proof a wall typically costs between £40 and £90 per metre for a standard chemical damp proof course injection. Full basement tanking can cost £2,000 to £6,000 or more, depending on the size. External wall treatment and replastering add to these costs.
Factors Affecting Price
Several things influence the final cost:
- The extent of the damp problem and how much of the wall needs treating
- Whether you need to remove and replace plaster
- The type of damp proofing method required
- Access to the affected areas
- The condition of existing walls and whether repairs are needed first
- Labour costs in your area
Hidden Costs to Consider
Don’t forget about related work that might be necessary. You may need to repair gutters, improve ventilation, replace damaged timber, redecorate after treatment, or upgrade drainage around the property. These associated costs can add significantly to the total bill.
Long-Term Savings
Whilst damp proofing requires upfront investment, it saves money long-term by preventing structural damage, reducing heating bills, avoiding repeated redecoration costs, and maintaining property value. It’s one of those jobs where doing it properly once is far cheaper than dealing with ongoing problems.

How do you damp proof a wall?
Now, let’s get into the practical methods for damp proofing different types of walls. The technique you use depends on whether you’re treating internal or external walls, the type of damp you’re dealing with, and the construction of the wall itself.
How To Damp Proof Internal Walls
Internal walls require careful treatment to prevent rising damp and stop moisture penetration from affecting your living spaces. Here’s how to tackle internal damp proofing:
Step 1: Diagnose the Problem
Before starting any work, identify exactly what type of damp you’re dealing with. Use a moisture meter to check dampness levels at different heights on the wall. Look for signs like peeling paint, crumbling plaster, salt deposits (efflorescence), or a tide mark around 1 metre high. If you’re unsure, consider getting a professional damp survey.
Step 2: Remove Damaged Materials
Strip away all damaged plaster to at least 1 metre above the highest point of visible damp. This ensures you’re working with sound material and allows the wall to dry properly. Remove skirting boards and check for any damaged timber that needs replacing. Take the plaster right back to bare brickwork or blockwork.
Step 3: Treat the Source
For rising damp, you’ll need to install a new damp proof course if the existing one has failed. Chemical DPC injection is the most common method for existing walls. Drill holes into the mortar joints at regular intervals (typically every 120mm) at the appropriate height, then inject damp proofing cream or fluid under pressure. This creates a water-repellent barrier within the wall.
For penetrating damp, you need to fix the external problem first – whether that’s repointing, repairing render, or fixing leaks. Only once the source is resolved should you treat internal walls.
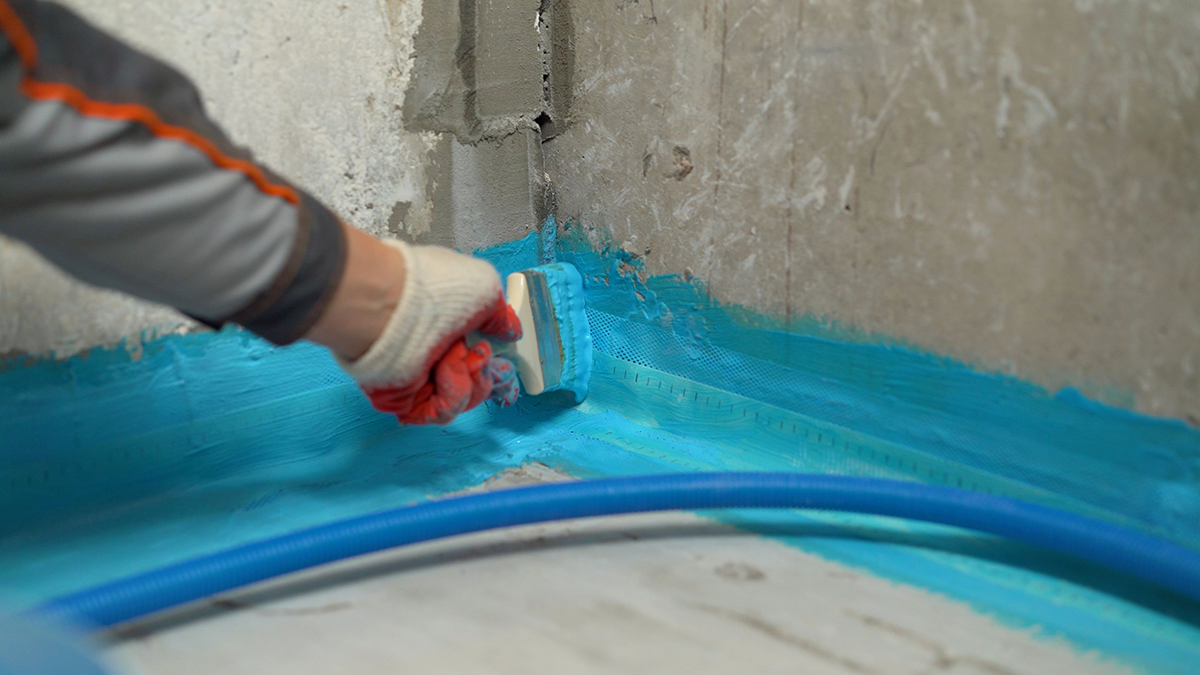
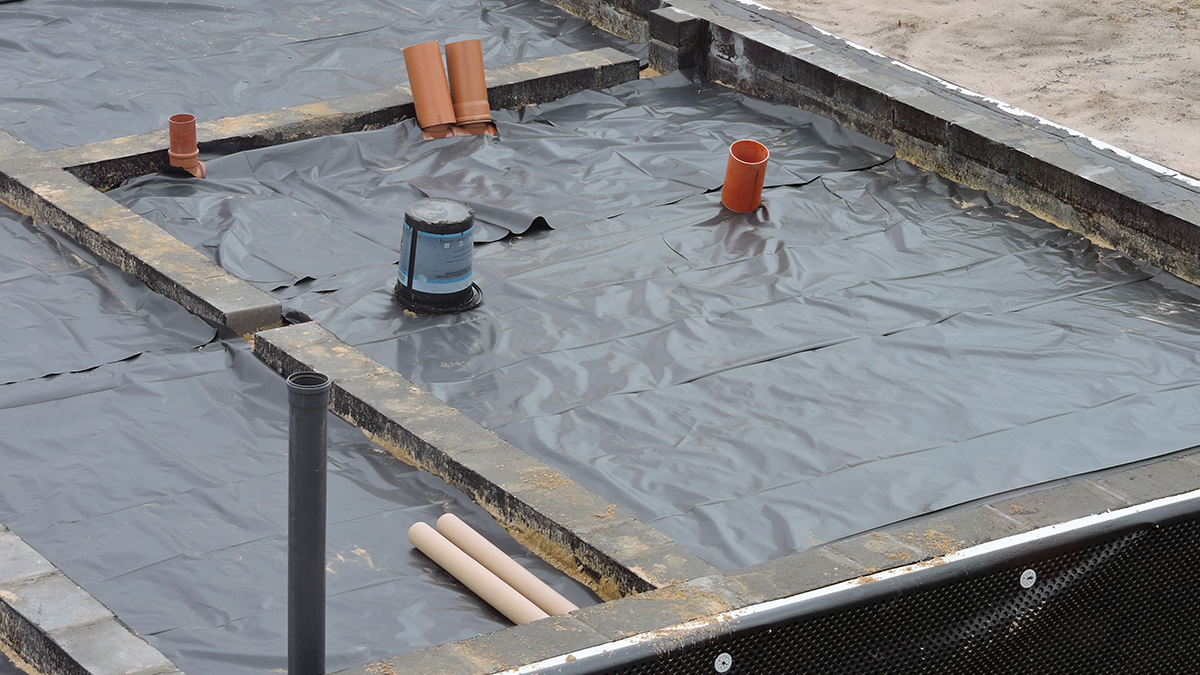
Step 4: Apply Waterproof Membrane or Tanking
Once the wall has been treated and allowed to dry, apply a waterproof membrane or tanking system to the internal face. Tanking slurry creates an impermeable barrier that prevents any residual moisture from showing through. Apply it in multiple coats according to the manufacturer’s instructions, paying particular attention to corners and joints.
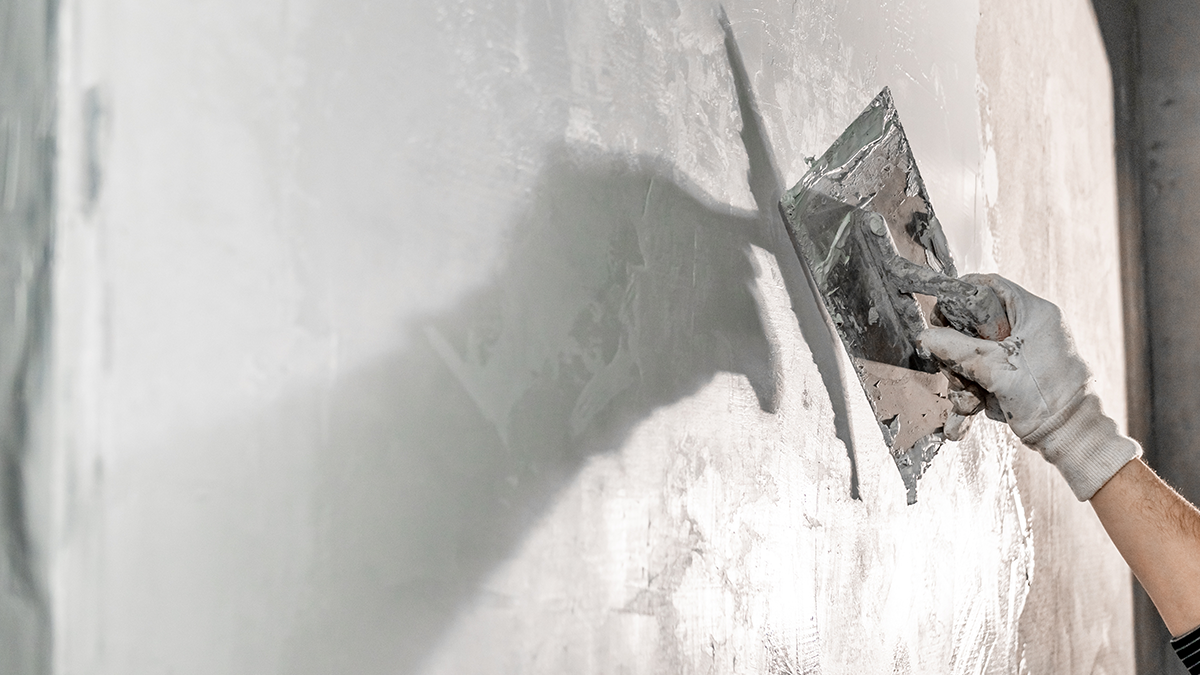
Step 5: Replaster with Appropriate Materials
Use a sand and cement render as a base coat, applied directly over the tanking or membrane. This should be at least 15mm thick. Our builders’ merchants in South London stocks ready-mixed renovating plasters specifically designed for damp walls. These contain water-repellent additives and allow the wall to breathe whilst blocking moisture.
Finish with a multi-finish plaster skim once the base coat has fully cured. Allow adequate drying time between coats – rushing this process can lead to problems later.
Step 6: Reinstate and Decorate
Replace skirting boards, ensuring there’s a small gap between the bottom of the skirting and the floor to allow air circulation. Use breathable paint systems rather than vinyl paints, which can trap moisture. Consider adding ventilation if condensation is contributing to the problem.
How To Damp Proof External Walls
External walls need protection from the elements, and proper damp proofing here prevents water penetration that leads to internal damp problems.
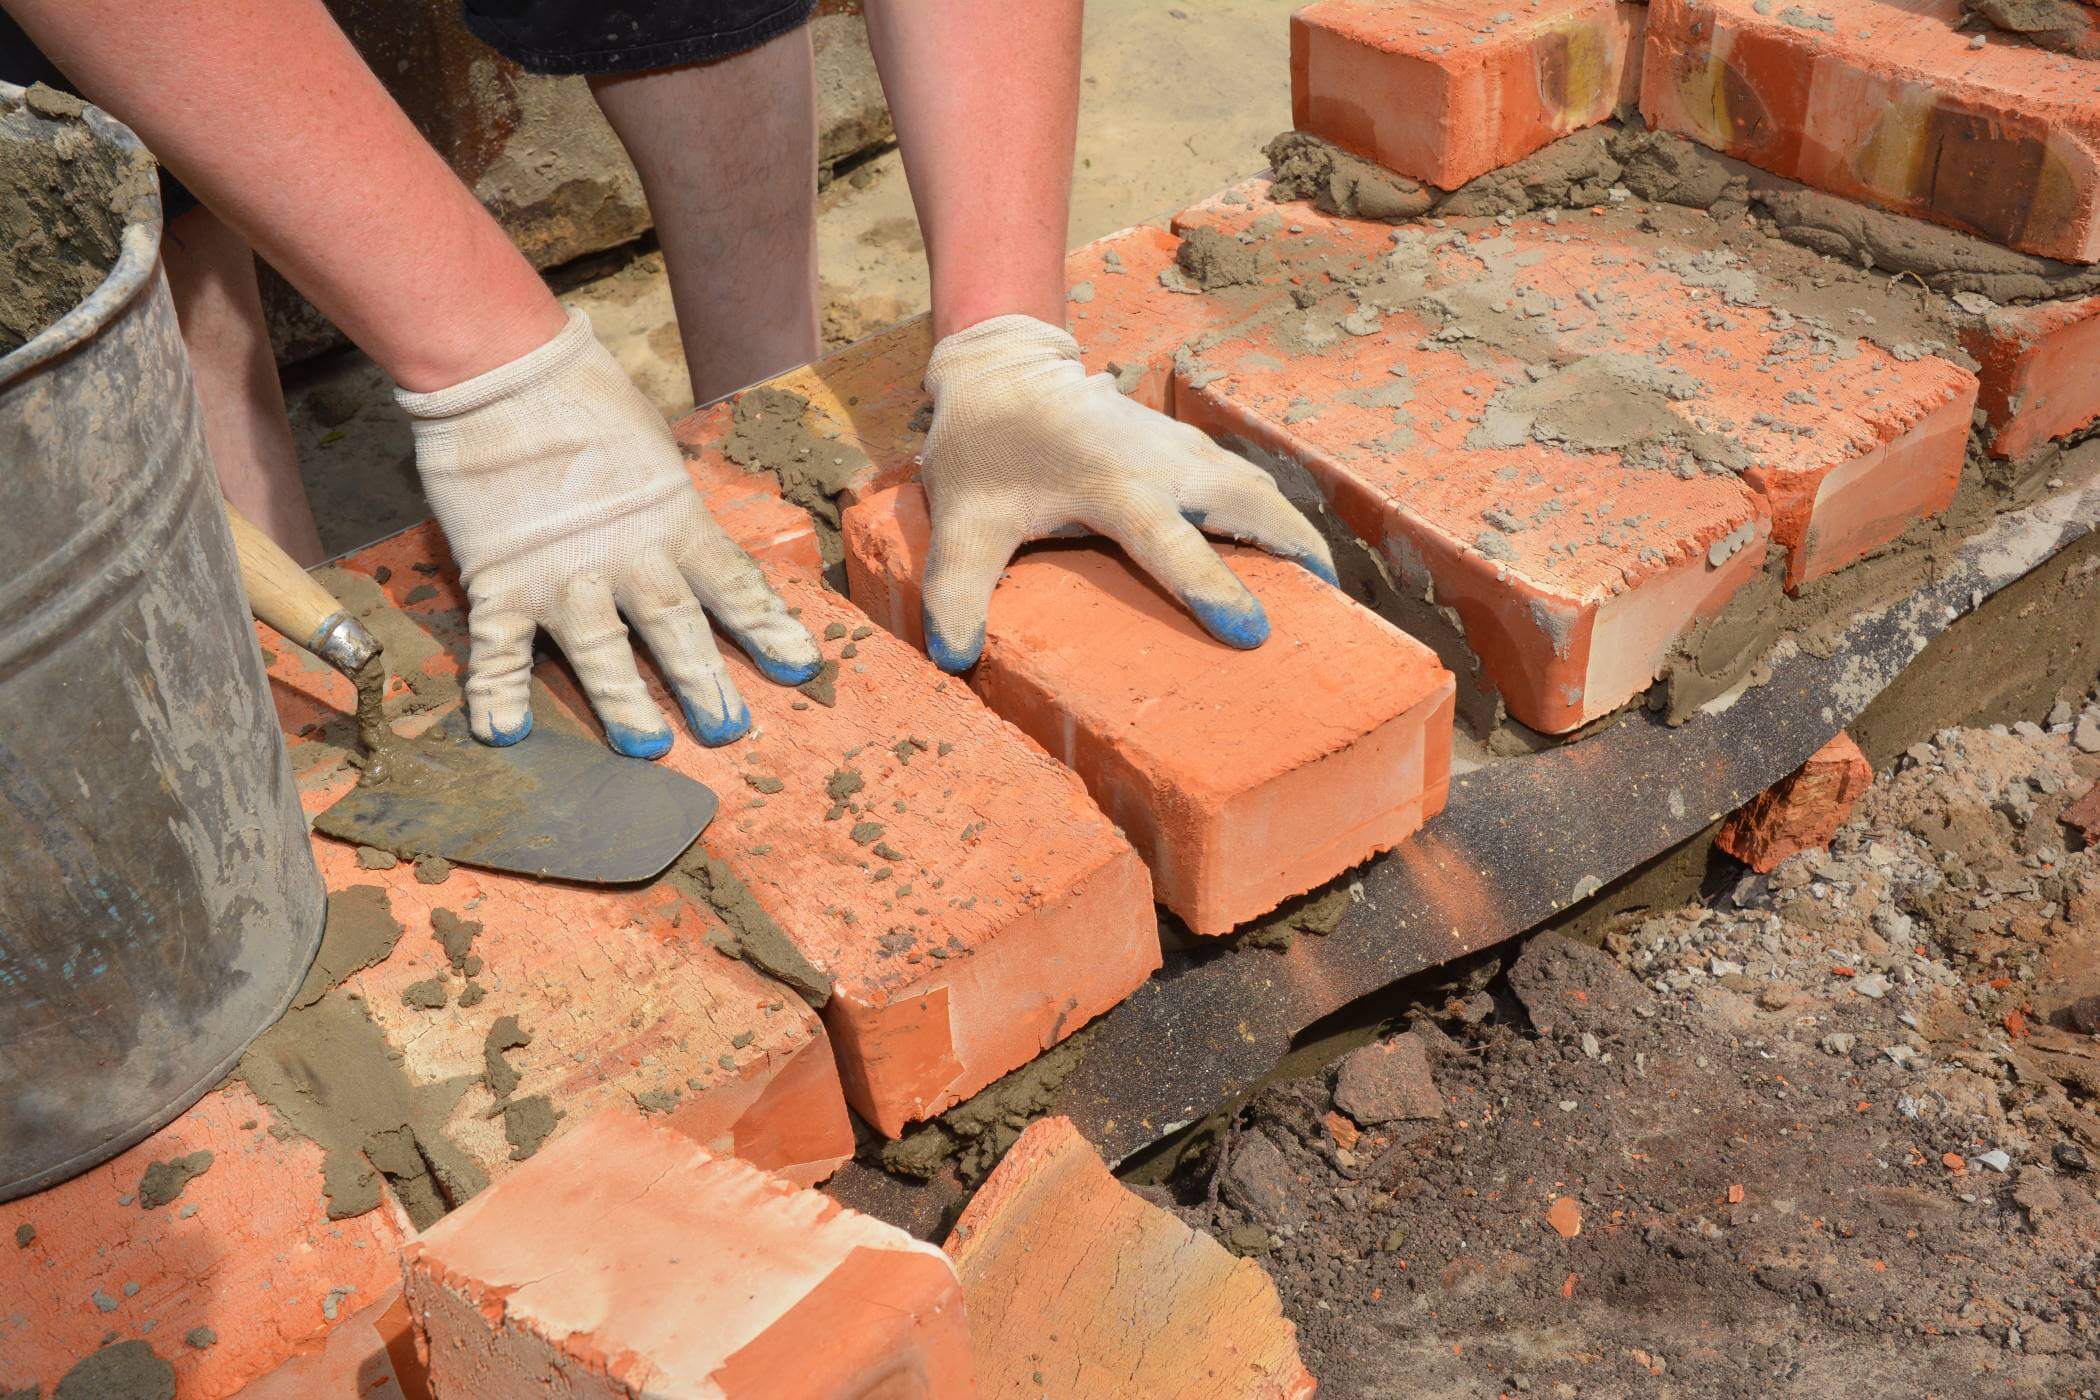
Step 1: Repair Pointing and Mortar
Start by checking all pointing between bricks or blocks. Damaged, crumbling or missing mortar lets water penetrate. Rake out defective pointing to a depth of at least 15mm and repoint with a suitable mortar mix. Traditional lime mortar is often best for older properties as it allows walls to breathe whilst shedding water effectively.
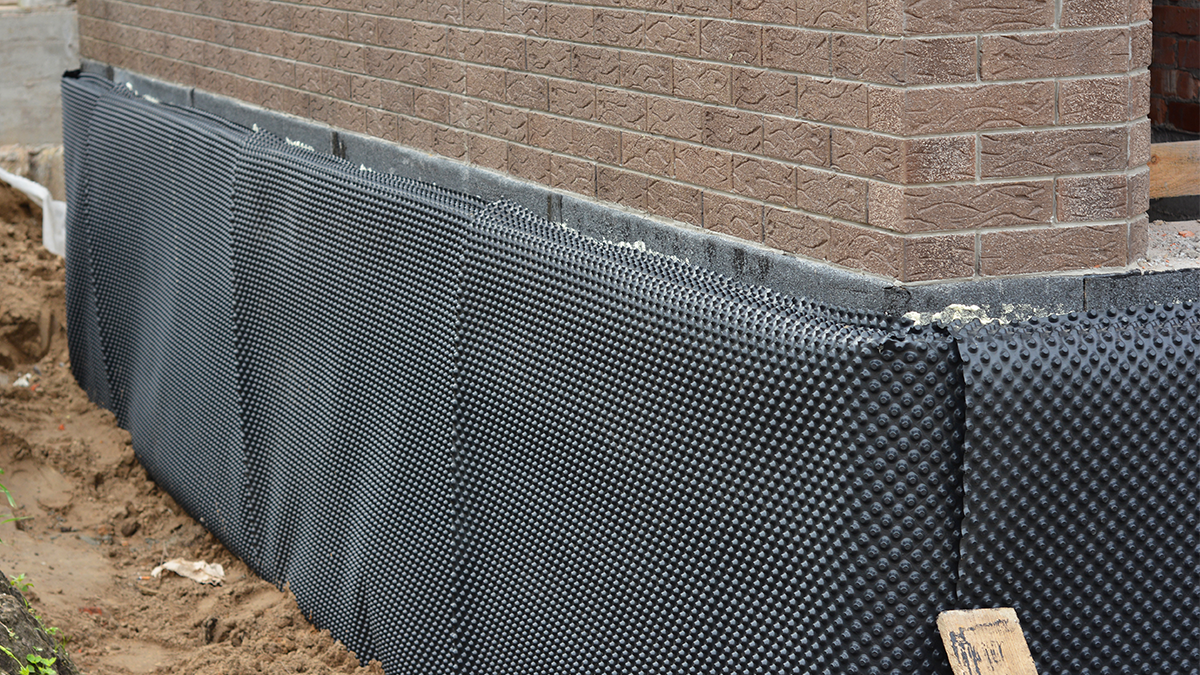
Step 2: Apply Waterproof Render
For walls with damaged render or facing severe weather exposure, applying a waterproof rendering system provides excellent protection. Remove any loose or damaged render first, then apply a base coat render with waterproofing additives.
If you’re looking for building supplies in Croydon, we stock modern renders from trusted suppliers that deliver excellent weather resistance and breathability. Multi-coat render systems provide the best results – typically a base coat for adhesion and levelling, followed by a weather-resistant top coat. Some systems include mesh reinforcement for added strength.
Step 3: Install or Repair Guttering
Faulty gutters and downpipes are major causes of penetrating damp. Water overflowing from damaged guttering runs down walls, saturating them. Check that all gutters are clear, properly aligned with adequate fall, securely fixed, and have no leaks or holes. Downpipes should discharge into proper drainage, not against walls.
Step 4: Improve Ground Levels
Ground levels should be at least 150mm below the damp proof course. If paths, flower beds, or soil have built up against walls, they can bridge the DPC and allow moisture to rise above it. Lower ground levels, where necessary, and ensure good drainage away from the building.
Step 5: Apply Water Repellent Treatments
Clear water-repellent solutions can be brushed or sprayed onto external walls. These allow the wall to breathe whilst creating a water-shedding surface. They’re particularly useful for exposed walls that suffer from driving rain. Reapplication is needed every few years to maintain effectiveness.
How To Damp Proof A Stone Wall
Stone walls require special consideration because traditional stone construction often relies on being able to breathe. Using the wrong damp proofing methods can trap moisture and cause more problems than they solve.
Understanding Stone Wall Construction
Traditional stone walls, particularly in older buildings, were built to move moisture through them naturally. The stone, mortar, and internal plaster all work together to allow water vapour to pass through whilst shedding liquid water. Any damp proofing solution must maintain this breathability.
Appropriate Materials
Never use cement-based renders or modern gypsum plasters directly on old stone walls. Instead, use lime-based materials that are compatible with traditional construction. Lime mortar, lime render, and lime plaster all allow the wall to breathe whilst providing weather protection.
For damp-proofing stone walls, hydraulic lime renders offer good water resistance whilst maintaining breathability. These set through a chemical reaction with water rather than drying out, making them more durable than non-hydraulic limes.
Internal Treatment
If rising damp affects stone walls, injection damp-proof courses can work, but they must be installed carefully. The irregular nature of stone means injection points need to be closer together than with brick walls. Multiple injection points ensure the treatment penetrates properly through varying stone types and mortar.
Internal tanking systems can be used on stone walls, but only when external measures have failed and with proper professional advice. Tanking a stone wall can push moisture problems elsewhere if not done correctly.
External Protection
Keep stone walls well pointed with appropriate lime mortar. Ensure rainwater goods are working properly and that ground levels are suitable. Consider lime wash, which provides some water resistance whilst allowing the wall to breathe. Traditional lime wash needs regular reapplication but offers excellent compatibility with stone construction.
Ventilation Matters
Stone buildings often need better ventilation than modern properties. Install air bricks where appropriate and ensure roof spaces are well ventilated. This helps manage moisture levels naturally rather than trying to seal everything up.
Common mistakes to avoid
Over two decades of supplying building materials in Croydon, we’ve seen plenty of damp proofing attempts that have gone wrong. Here are the mistakes to avoid:
Using Impermeable Materials
Sealing walls with cement render, vinyl paints, or non-breathable membranes can trap moisture inside walls, causing it to move elsewhere or build up behind the impermeable layer. Always use breathable materials that allow water vapour to escape.
Not Addressing the Cause
Treating the symptoms without fixing the underlying problem means the damp will return. If rising damp is caused by bridged DPC, high ground levels, or leaking drains, these issues must be resolved first. If penetrating damp comes from damaged guttering, treating the wall internally won’t stop water coming in.
Insufficient Preparation
Rushing preparation leads to failure. Remove all contaminated plaster, allow walls to dry properly before replastering, and ensure surfaces are clean and sound before applying treatments. Taking shortcuts here guarantees problems later.
Wrong Products for the Job
Not all damp proofing products suit every situation. Chemical DPC injection doesn’t work on solid concrete walls. Standard plaster isn’t suitable for damp walls. Using inappropriate materials wastes money and fails to solve the problem.
Ignoring Ventilation
Particularly with condensation issues, improving ventilation is crucial. Adding extractor fans, ensuring trickle vents are open, and maintaining adequate heating all help manage moisture levels. Damp proofing alone won’t solve condensation problems. Understanding building ventilation requirements is essential for preventing condensation-related damp.

Why choose Mitcham Builders Merchants?
Tackling damp proofing requires the right materials and expert guidance. As one of the leading builders merchants in South London, we’re here to help with every aspect of your damp proofing project.
Comprehensive Range
We stock everything you need for damp proofing work – from chemical DPC injection systems and tanking slurries to waterproof membranes, renovating plasters, and specialist renders. Whatever method you’re using, we have the materials in stock.
Expert Advice
Our experienced team understands damp problems and the solutions that work. We can recommend the right products for your specific situation, help you calculate quantities, and offer practical tips based on years of experience. Whether you’re a professional builder or tackling DIY, we’re happy to share our knowledge.
Quality Products
We work with trusted suppliers to ensure you get materials that perform properly. Damp proofing is too important to risk with substandard products. Everything we supply meets appropriate standards and specifications.
Competitive Pricing
Professional-quality damp proofing materials at prices that make sense. We keep our costs competitive without compromising on quality, helping you stay within budget whilst getting the job done properly.
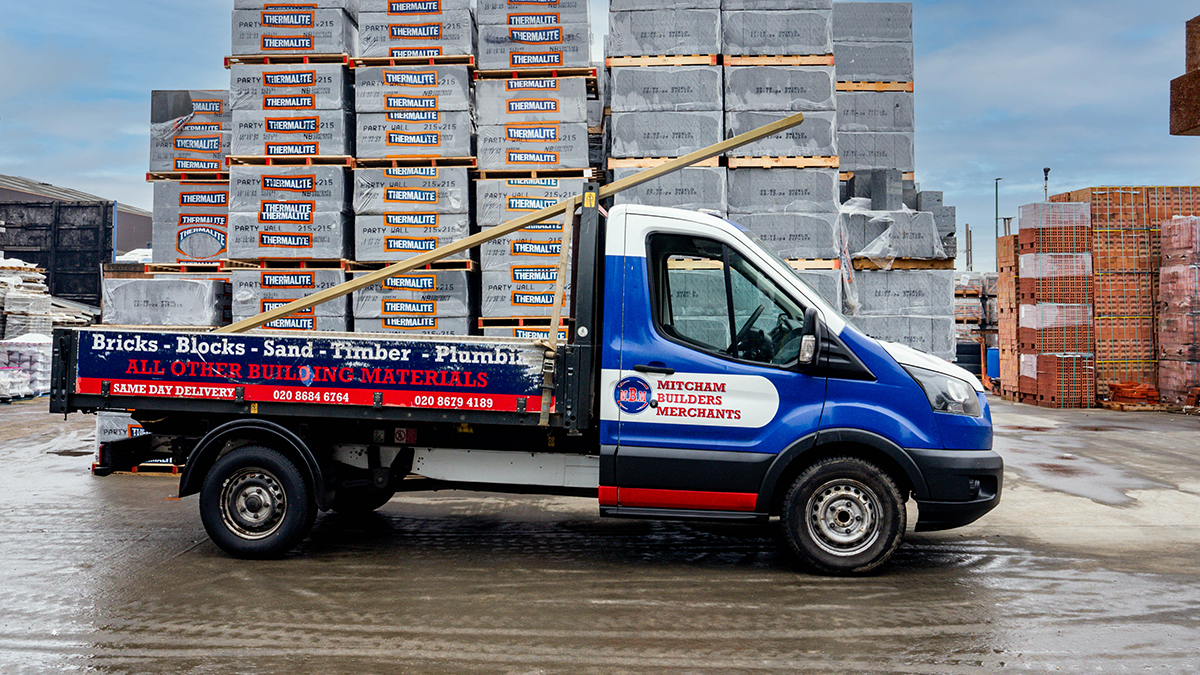
Convenient Service
With same-day and next-day delivery across South London, plus click and collect options, getting the materials you need is straightforward. We understand that building projects work to schedules, and we’re set up to support that.
Get expert advice on damp proofing
Understanding how to damp-proof a wall is essential for protecting your property, but knowing which method to use and having access to the right materials makes all the difference between success and failure.
Whether you’re dealing with rising damp in an older property, penetrating damp from weather exposure, or installing preventative measures in new construction, we’re here to help. At Mitcham Builders Merchants, we’ve been supporting builders, property developers, and homeowners across South London for over 20 years.
Need materials or advice for your damp proofing project? Visit our Croydon depot or get in touch to discuss your requirements. Our team can guide you through product selection, help calculate quantities, and ensure you have everything needed to damp-proof your walls effectively. After all, proper damp proofing protects your property for years to come, and we’re here to help you get it right the first time.